
Blog / 5 Tips for Taking Photos of Your Hats

5 Tips for Taking Photos of Your Hats
Every year, HATalk hosts a competition to showcase some of the best, original hats and headpieces from all over the world. Entries are judged on three criteria: quality of workmanship (both inside and out), originality of design, and connection to the theme. This is a worldwide competition which means all entries are judged from pictures taken by the makers themselves, and while your hat or headpiece could be perfectly crafted, our judges may never know that without high-quality pictures of your work!
Of course, taking good images of your hats isn’t only important for entering a competition. If you want to sell, or even just show off, your hats and headpieces online, quality photography is crucial. You may not be able to afford a professional photo shoot, but you can make sure that the photos that you take are the best that they can be. To do your hat and headpieces justice, we recommend following these five photography tips.
#1 Natural Lighting
Often, the best lighting any given person has available to them is natural lighting. While you may think your house has decent lighting, artificial light sources can create unwanted shadows and discoloration that will misrepresent the subject of your photograph. That is why natural light is always the best when it is available!
Position hat beside window, take picture with window light in front of or beside hat, not behind.

Photo Tip 2
DO have sunlight in front of or beside hat

Photo Tip 3
DON'T have lighting behind your hat
#2 Position Your Camera
One of the most important aspects of photograph composition is the position of your camera. While other aspects like crop and coloration can be altered in post-processing, the perspective from which your camera captures a subject is almost impossible to change! By positioning yourself on the same level as the subject, you are able to capture the best-possible representation of your hat as you would see it in person. Photographing at a low position will capture more of the bottom of your work and make it appear more prominent than in real life. The same can be said for the top of the hat if you come from a high angle with your camera.
Be level with the hat to get the front image. Try not to be too high or too low. For images of the top or inside of the hat, lay flat and position camera directly above.

Photo Tip 4
DO have camera level with the hat

Photo Tip 5
DON'T have camera too high or too low
#3 Be Aware of the Surroundings
The background behind your subject has the ability to make or break the success of your image. By eliminating distracting elements in the background of your photo, the viewer can focus solely on the craftsmanship of your hat or headpiece. However, the opposite can be problematic as well. You do not want your subject to blend into the background, so it is important to have a high level of contrast between the color of your hat and the background of your image. So if your hat is white or light-colored, you should opt for a dark-colored background.
Have a plain background, preferably white or something that won’t clash or distract from the hat. Try not to have other distracting objects in the frame.
Photo Tip 3
DON'T have lighting behind your hat

Photo Tip 7
DON'T have messy or distracting backgrounds
#4 Variety
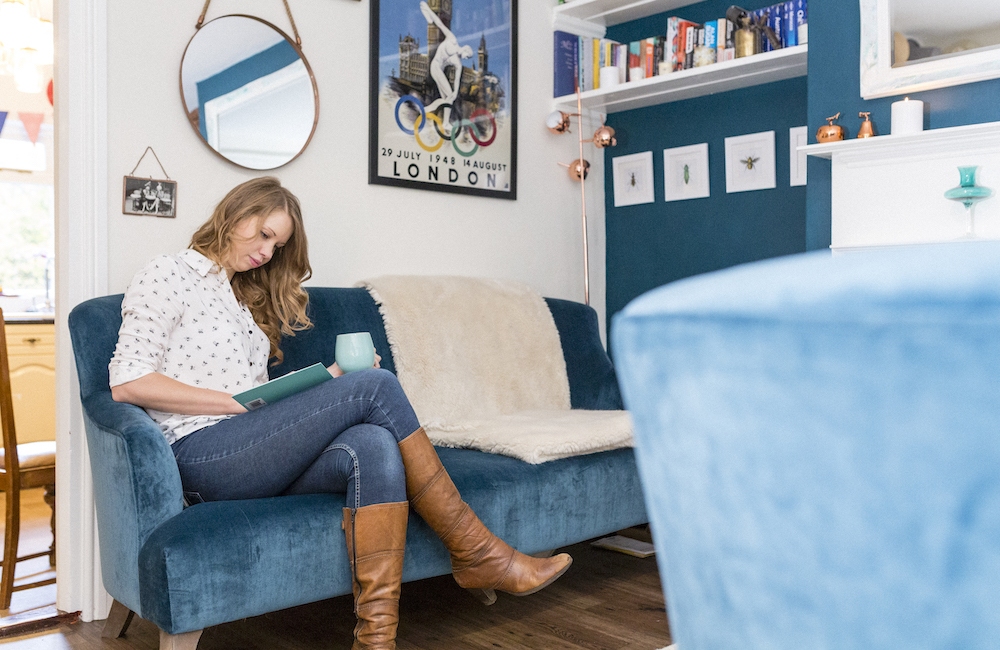
Whether you’re entering a competition or trying to sell your work online, it is important to include different angles of the hat (the front, side, back, and inside), close-up images of prominent features, how it is worn on a model, or anything else that shows off your hat’s uniqueness or craftsmanship!
Take pictures of different angles of the hat. Get close up shots of details, prominent features, or anything else you want to show off of your hat.

Photo Tip 8
DO take pictures of varies angles

Photo Tip 9
DON'T take photos of the same angle or style for every image
#5 Composition
Arguably one of the most notable features of a bad photograph is poor composition. In general, most well-taken photos follow the rule-of-thirds or centered composition. For our competition, the best way to emphasize your work is by centering your hat in the frame. By doing so, you are ensuring that there is space around your hat within the photograph and no edges or details are cropped out of the image. This also ensures that your hat is the focal point for viewers, and that there will not be an unnecessary amount of empty space in the photo.
Center the hat in the frame. Don’t cut off edges or important details of the hat.

Photo Tip 10
DO have hat placed within frame

Photo Tip 11
DON'T have parts of hat cropped out of picture
Popular Articles

Latest e-Magazine

Featured Supplier
5 Tips for Taking Photos of Your Hats
Every year, HATalk hosts a competition to showcase some of the best, original hats and headpieces from all over the world. Entries are judged on three criteria: quality of workmanship (both inside and out), originality of design, and connection to the theme. This is a worldwide competition which means all entries are judged from pictures taken by the makers themselves, and while your hat or headpiece could be perfectly crafted, our judges may never know that without high-quality pictures of your work!
Of course, taking good images of your hats isn’t only important for entering a competition. If you want to sell, or even just show off, your hats and headpieces online, quality photography is crucial. You may not be able to afford a professional photo shoot, but you can make sure that the photos that you take are the best that they can be. To do your hat and headpieces justice, we recommend following these five photography tips.
#1 Natural Lighting
Often, the best lighting any given person has available to them is natural lighting. While you may think your house has decent lighting, artificial light sources can create unwanted shadows and discoloration that will misrepresent the subject of your photograph. That is why natural light is always the best when it is available!
Position hat beside window, take picture with window light in front of or beside hat, not behind.
Photo Tip 2
DO have sunlight in front of or beside hat
Photo Tip 3
DON'T have lighting behind your hat
#2 Position Your Camera
One of the most important aspects of photograph composition is the position of your camera. While other aspects like crop and coloration can be altered in post-processing, the perspective from which your camera captures a subject is almost impossible to change! By positioning yourself on the same level as the subject, you are able to capture the best-possible representation of your hat as you would see it in person. Photographing at a low position will capture more of the bottom of your work and make it appear more prominent than in real life. The same can be said for the top of the hat if you come from a high angle with your camera.
Be level with the hat to get the front image. Try not to be too high or too low. For images of the top or inside of the hat, lay flat and position camera directly above.
Photo Tip 4
DO have camera level with the hat
Photo Tip 5
DON'T have camera too high or too low
#3 Be Aware of the Surroundings
The background behind your subject has the ability to make or break the success of your image. By eliminating distracting elements in the background of your photo, the viewer can focus solely on the craftsmanship of your hat or headpiece. However, the opposite can be problematic as well. You do not want your subject to blend into the background, so it is important to have a high level of contrast between the color of your hat and the background of your image. So if your hat is white or light-colored, you should opt for a dark-colored background.
Have a plain background, preferably white or something that won’t clash or distract from the hat. Try not to have other distracting objects in the frame.
Photo Tip 3
DON'T have lighting behind your hat
Photo Tip 7
DON'T have messy or distracting backgrounds
#4 Variety
Whether you’re entering a competition or trying to sell your work online, it is important to include different angles of the hat (the front, side, back, and inside), close-up images of prominent features, how it is worn on a model, or anything else that shows off your hat’s uniqueness or craftsmanship!
Take pictures of different angles of the hat. Get close up shots of details, prominent features, or anything else you want to show off of your hat.
Photo Tip 8
DO take pictures of varies angles
Photo Tip 9
DON'T take photos of the same angle or style for every image
#5 Composition
Arguably one of the most notable features of a bad photograph is poor composition. In general, most well-taken photos follow the rule-of-thirds or centered composition. For our competition, the best way to emphasize your work is by centering your hat in the frame. By doing so, you are ensuring that there is space around your hat within the photograph and no edges or details are cropped out of the image. This also ensures that your hat is the focal point for viewers, and that there will not be an unnecessary amount of empty space in the photo.
Center the hat in the frame. Don’t cut off edges or important details of the hat.
Photo Tip 10
DO have hat placed within frame
Photo Tip 11
DON'T have parts of hat cropped out of picture
Popular Articles
Latest e-Magazine
Featured Supplier
