
Blog / How to Line a Hat

How to Line a Hat
3 Types of Hat Linings
If you have been wondering how to line a hat, or even what the point of lining a hat is, this article is for you. After putting in hours of work blocking and sewing, a lining can be the finishing touch to a well-made hat.
A hat lining does more than give a finished look to your piece, it also hides your stitching. Plus, it can be a great way to make a statement – you can give your customers a fun surprise by hiding a quirky pattern or bright color inside a seemingly serious hat.
While hat linings can be made from all types of fabric, thin, natural materials work best. Silk dupion is a popular choice because it is both soft and strong. Remember to cut your fabric on the bias so that it will stretch and conform to the shape of your hat. You might even want to choose a signature lining fabric that is unique to your brand and use it inside every piece to give your label continuity.
There are several techniques for lining hats and the one you choose to use will depend on the style and shape of your hat. Here are 3 of the most common types of hat linings…
1) Gathered Hat Lining
For a hat with a rounded crown, like a button hat or a blocked beret, a gathered hat lining is a popular choice. This type of lining is made from a rectangular piece of fabric that is sewn and gathered to fit neatly inside the crown. They can be made with or without using a hat block.

For step-by-step instructions from British milliner Judy Bentinck on how to make a gathered hat lining, click HERE.
2) Blocked Lining
For fascinators and curved or unusual shapes, blocking is the fastest way to make a hat liner. You will need to use silk for this technique. You should block the liner on the same block that you used to make your hat.
18")
To try a blocked hat lining tutorial from Australian milliner Jane Stoddart, click HERE.
3) Flat Top Lining
For pillboxes and other hats with flat top crowns, a flat top lining will reduce bulk because it will fit closely inside the hat. Trace around the top of your crown block to create a pattern for the top piece of your lining, adding an extra 2.5cm (1 inch) for the seam. Cut out a piece of lining fabric in this shape and then cut a rectangular piece for the sides. It should be long enough and wide enough to fit all the way around the block, with an extra 2.5cm (1 inch) for the seam allowance.

Fold the rectangular piece in half across its width, pinning the two short ends together with the wrong sides out. Sew the pinned ends together with a neat running stitch. The seam is your center back. Pin the crown top to the side piece to create a flat seam. Then, using a neat running stitch again, sew the two pieces together. The result should be a lining that closely matches the shape of your hat.
Installing a Hat Lining
Once you have finished making the lining for your hat, it’s time to attach it. The process for doing this is very similar regardless of the type of lining you are using.

First, fold the raw bottom edge over about a centimeter and press it with an iron. Then pin the lining into your hat, matching the seam to the center back, and place pins at the North, South, East and West points. Tuck the bottom edge neatly under the Petersham headband.
Secure the lining in place with a few discreet holding stitches. Alternatively, you can use a little Uhu or 450 glue to spot glue the folded edge of the lining in place. Press and, if you used glue, allow to dry. Finally, for a truly professional finish, sew a personal label onto the hat lining.
Of course, not every piece of headwear you make will need to be lined, but now that you know how to line a hat you can make your work look just as good on the inside as it does on the outside.

About the Author
Amy Fowler is the creator of the bespoke, California-based Millinery by Amy Fowler label. She also runs Humboldt Haberdashery, an online millinery supplier.
See Amy’s full bio HERE.
Popular Articles
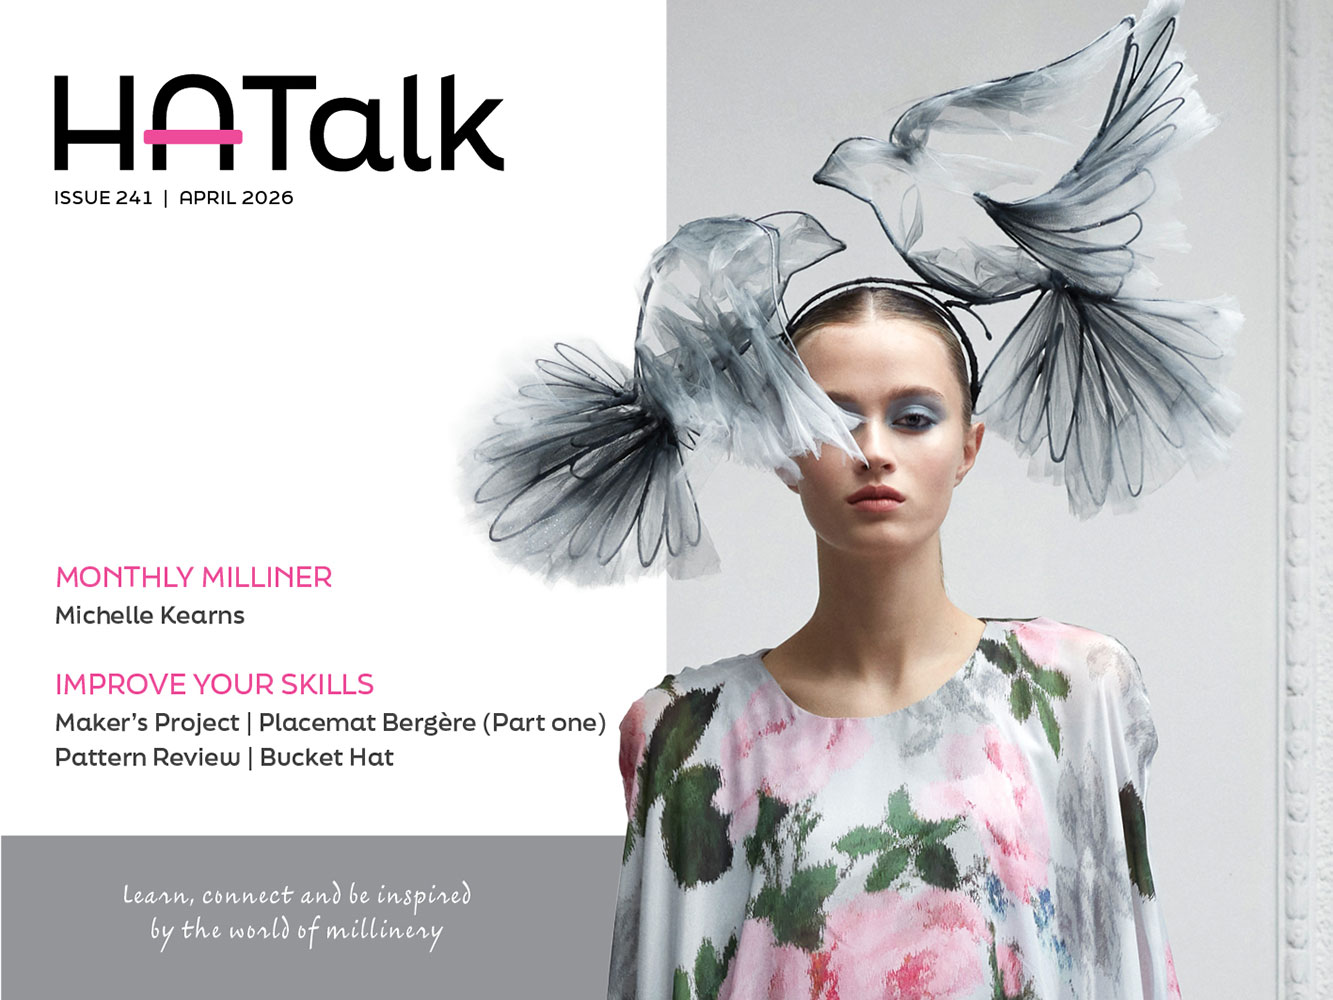
Latest e-Magazine
Featured Supplier
How to Line a Hat
3 Types of Hat Linings
If you have been wondering how to line a hat, or even what the point of lining a hat is, this article is for you. After putting in hours of work blocking and sewing, a lining can be the finishing touch to a well-made hat.
A hat lining does more than give a finished look to your piece, it also hides your stitching. Plus, it can be a great way to make a statement – you can give your customers a fun surprise by hiding a quirky pattern or bright color inside a seemingly serious hat.
While hat linings can be made from all types of fabric, thin, natural materials work best. Silk dupion is a popular choice because it is both soft and strong. Remember to cut your fabric on the bias so that it will stretch and conform to the shape of your hat. You might even want to choose a signature lining fabric that is unique to your brand and use it inside every piece to give your label continuity.
There are several techniques for lining hats and the one you choose to use will depend on the style and shape of your hat. Here are 3 of the most common types of hat linings…
1) Gathered Hat Lining
For a hat with a rounded crown, like a button hat or a blocked beret, a gathered hat lining is a popular choice. This type of lining is made from a rectangular piece of fabric that is sewn and gathered to fit neatly inside the crown. They can be made with or without using a hat block.
For step-by-step instructions from British milliner Judy Bentinck on how to make a gathered hat lining, click HERE.
2) Blocked Lining
For fascinators and curved or unusual shapes, blocking is the fastest way to make a hat liner. You will need to use silk for this technique. You should block the liner on the same block that you used to make your hat.
To try a blocked hat lining tutorial from Australian milliner Jane Stoddart, click HERE.
3) Flat Top Lining
For pillboxes and other hats with flat top crowns, a flat top lining will reduce bulk because it will fit closely inside the hat. Trace around the top of your crown block to create a pattern for the top piece of your lining, adding an extra 2.5cm (1 inch) for the seam. Cut out a piece of lining fabric in this shape and then cut a rectangular piece for the sides. It should be long enough and wide enough to fit all the way around the block, with an extra 2.5cm (1 inch) for the seam allowance.
Fold the rectangular piece in half across its width, pinning the two short ends together with the wrong sides out. Sew the pinned ends together with a neat running stitch. The seam is your center back. Pin the crown top to the side piece to create a flat seam. Then, using a neat running stitch again, sew the two pieces together. The result should be a lining that closely matches the shape of your hat.
Installing a Hat Lining
Once you have finished making the lining for your hat, it’s time to attach it. The process for doing this is very similar regardless of the type of lining you are using.
First, fold the raw bottom edge over about a centimeter and press it with an iron. Then pin the lining into your hat, matching the seam to the center back, and place pins at the North, South, East and West points. Tuck the bottom edge neatly under the Petersham headband.
Secure the lining in place with a few discreet holding stitches. Alternatively, you can use a little Uhu or 450 glue to spot glue the folded edge of the lining in place. Press and, if you used glue, allow to dry. Finally, for a truly professional finish, sew a personal label onto the hat lining.
Of course, not every piece of headwear you make will need to be lined, but now that you know how to line a hat you can make your work look just as good on the inside as it does on the outside.
About the Author
Amy Fowler is the creator of the bespoke, California-based Millinery by Amy Fowler label. She also runs Humboldt Haberdashery, an online millinery supplier.
See Amy’s full bio HERE.
Popular Articles
Latest e-Magazine
Featured Supplier
