
Hat Making Project
Three-Legged Sinamay Base
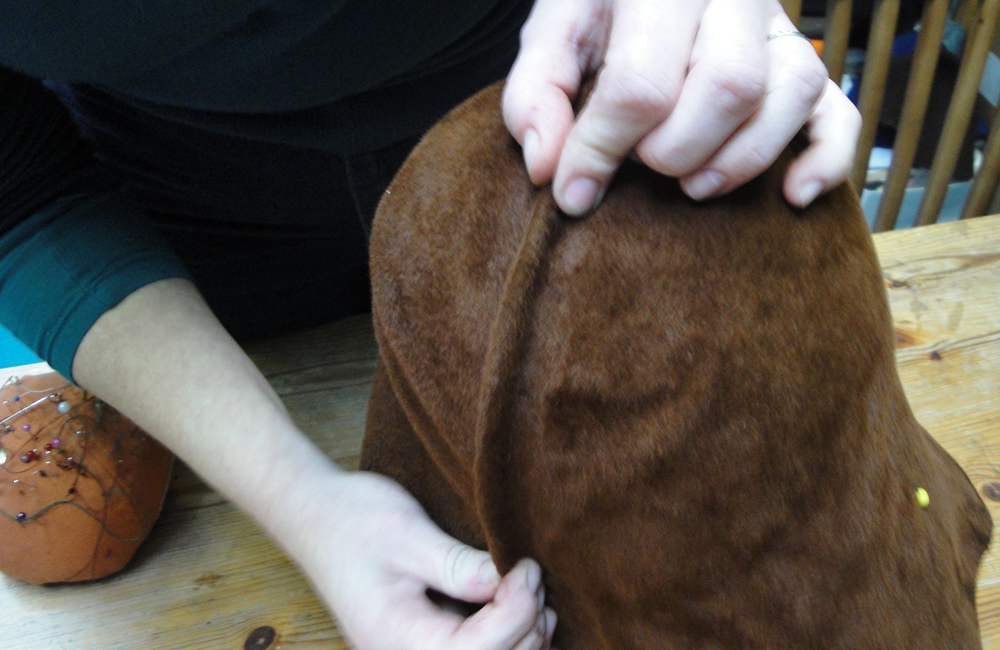
Make a wired sinamay freeform fascinator base.
Hat Making Project
Three-Legged Sinamay Base
Make a wired sinamay freeform fascinator base.
Projects / Three-Legged Sinamay Base
Project Overview
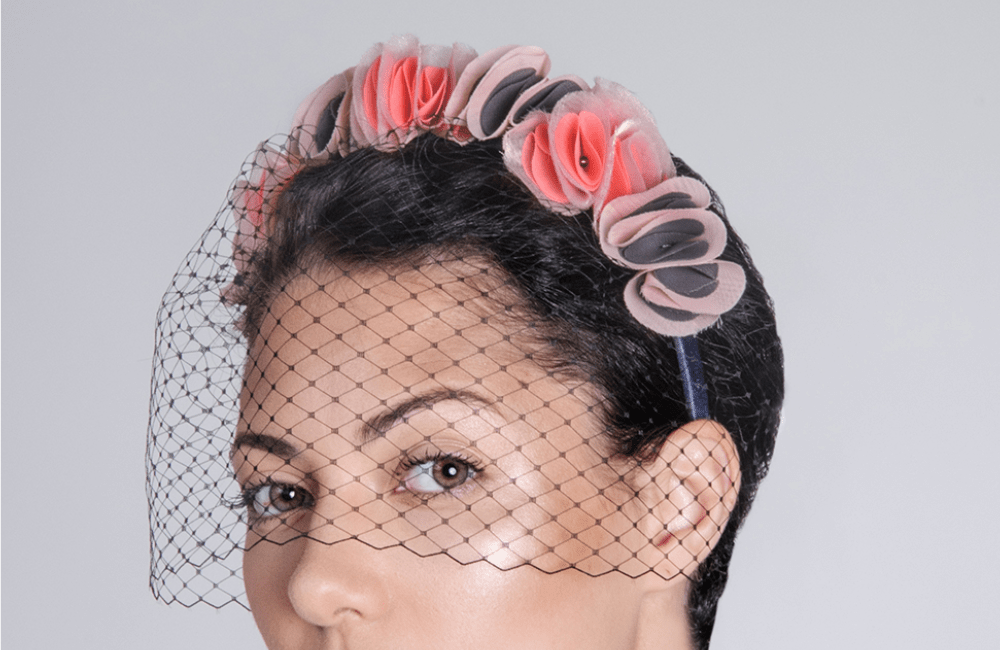
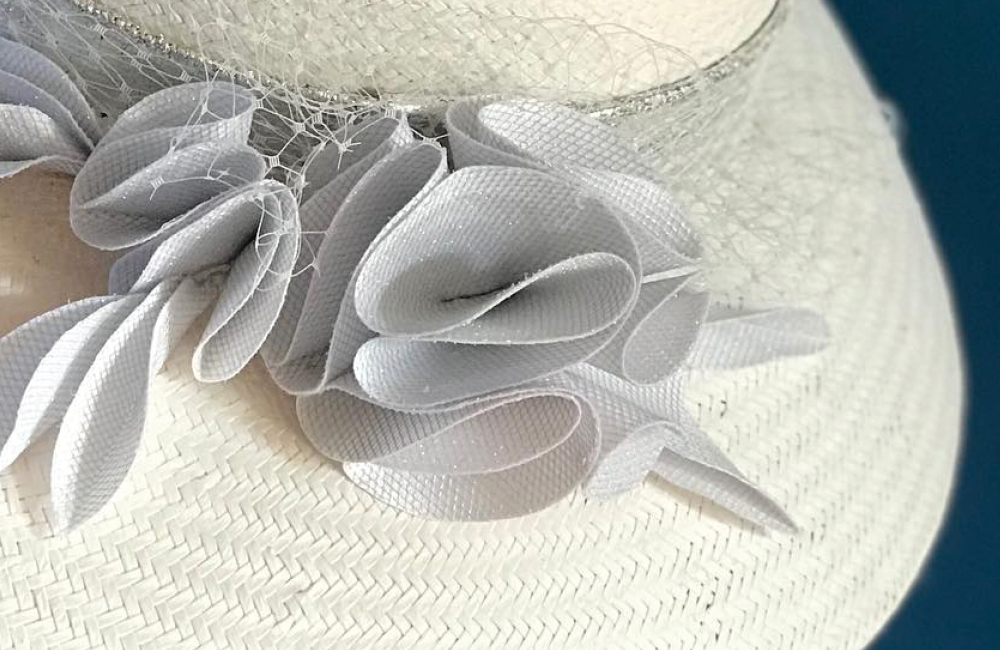
Attaching a fascinator to a base, rather than just a simple comb, is a good way to add stability and create a more subsantial headpiece.
Round or teardrop-shaped sinamay bases are quite common. If you’re looking for something a little different, though, this Three-Leg Sinamay Base might be just the thing.
This design is good for achieving balance and getting your fascinators to stay in place, even on fine, slippery hair. Each leg is wired and can be bent to fit the wearer’s head.
This tutorial was written by HATalk Founder Ann Morse-Brown and was originally published in her book, Make Fascinators.
Category: Fascinators

Get Full Access
HATalk Subscribers – sign in below to view the instructions for this project.
Not a Subscriber yet? Sign up to begin your free trial and get instant access to all of our projects and e-magazines.
What You Need
- 1 x 18 inch (46cm) square of sinamay
- 1 yard (1 metre) spring steel millinery wire or 21 gauge aircraft modelling wire
- Paper or thin card and pencil for pattern making
- Compass for drawing circles
- Ruler
- Soft pencil (6B) for marking fabric (or neon pencil for dark coloured fabric)
- Cutting out scissors
- Small, sharp pointed scissors
- Glass-headed pins
- Thread to match sinamay colour
- Sewing machine which can sew zigzag stitches
- Heavy-duty sewing machine needle, such as a ‘Jeans’ variety
- Darning needle
- Iron with steam setting and ironing board
- Pliers or wire cutters
Project Overview
Attaching a fascinator to a base, rather than just a simple comb, is a good way to add stability and create a more subsantial headpiece.
Round or teardrop-shaped sinamay bases are quite common. If you’re looking for something a little different, though, this Three-Leg Sinamay Base might be just the thing.
This design is good for achieving balance and getting your fascinators to stay in place, even on fine, slippery hair. Each leg is wired and can be bent to fit the wearer’s head.
This tutorial was written by HATalk Founder Ann Morse-Brown and was originally published in her book, Make Fascinators.
Category: Fascinators
What You Need
- 1 x 18 inch (46cm) square of sinamay
- 1 yard (1 metre) spring steel millinery wire or 21 gauge aircraft modelling wire
- Paper or thin card and pencil for pattern making
- Compass for drawing circles
- Ruler
- Soft pencil (6B) for marking fabric (or neon pencil for dark coloured fabric)
- Cutting out scissors
- Small, sharp pointed scissors
- Glass-headed pins
- Thread to match sinamay colour
- Sewing machine which can sew zigzag stitches
- Heavy-duty sewing machine needle, such as a ‘Jeans’ variety
- Darning needle
- Iron with steam setting and ironing board
- Pliers or wire cutters
Get Full Access
HATalk Subscribers – sign in below to view the full instructions for this project.
Not a Subscriber yet? Sign up to begin your free trial and get instant access to all of our hat making projects and e-magazines.

")