Hat Making Project
Sinamay Lily
Turn a simple sinamay square into a beautiful lily.

Hat Making Project
Sinamay Lily
Turn a simple sinamay square into a beautiful lily.
Projects / Sinamay Lily
Project Overview
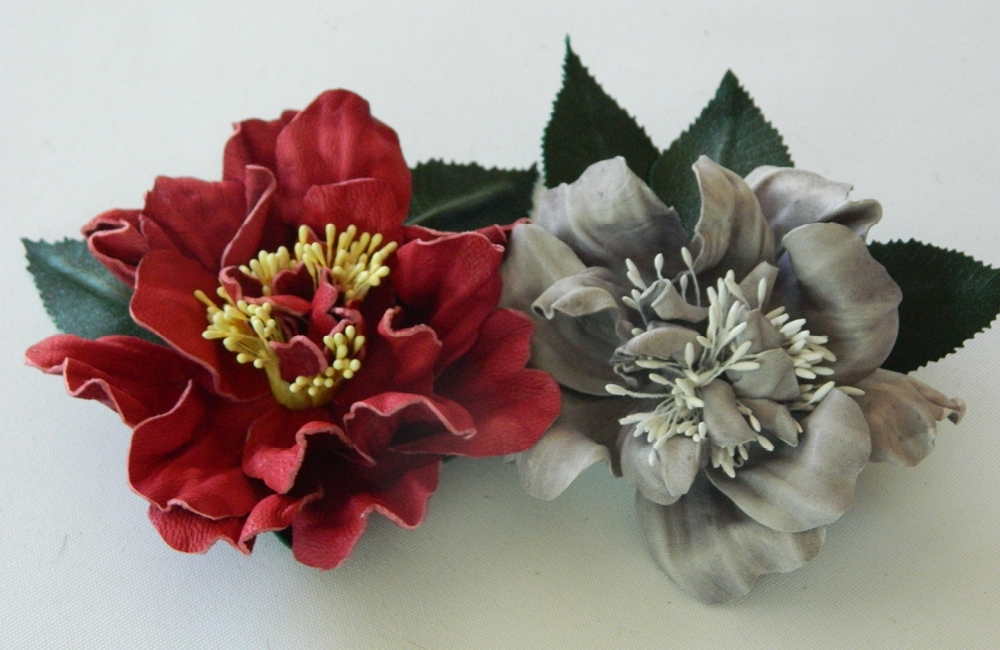
Whether you have just discovered sinamay or have been using it for years, this sinamay lily tutorial is fun project to try.
These lilies are created from squares of sinamay and the size is completely up to you. With a tiny 2 inch (5cm) sinamay square you can create earring-sized lilies. With an 18 inch square you can make a lily large enough to be a hat all on its own!
We recommend that you start with a more moderate size, such as a 9 inch (23cm) square, and then perhaps use a 6 inch (15cm) square to make a lily which will fit inside the first one. Once you get the hang of this technique, you will think of all kinds of creative ways to arrange your lilies. The Lilies on a Quill headpiece is one possibility, for example.
This tutorial was written by HATalk Founder Ann Morse-Brown and was originally published in her book, Make Fascinators.
Category: Fascinators, Flower Making, Trimmings
Get Full Access
HATalk Subscribers – sign in below to view the instructions for this project.
Not a Subscriber yet? Sign up to begin your free trial and get instant access to all of our projects and e-magazines.
What You Need
- 1 x 18 inch (46cm) square of sinamay. This will be enough to make several lilies. Use two squares in toning colours if you want to create ‘double’ lilies
- Thread to match sinamay colour(s)
- Darning needle
- Cutting out scissors
- Small, sharp pointed scissors
- Tube of quick-drying clear glue
- Ruler
- Soft (6B) pencil for marking fabric
- Glass-headed pins
Optional:
- Comb
- Narrow ribbon or embroidery thread to bind comb, in colour to match or tone with sinamay
Project Overview
Whether you have just discovered sinamay or have been using it for years, this sinamay lily tutorial is fun project to try.
These lilies are created from squares of sinamay and the size is completely up to you. With a tiny 2 inch (5cm) sinamay square you can create earring-sized lilies. With an 18 inch square you can make a lily large enough to be a hat all on its own!
We recommend that you start with a more moderate size, such as a 9 inch (23cm) square, and then perhaps use a 6 inch (15cm) square to make a lily which will fit inside the first one. Once you get the hang of this technique, you will think of all kinds of creative ways to arrange your lilies. The Lilies on a Quill headpiece is one possibility, for example.
This tutorial was written by HATalk Founder Ann Morse-Brown and was originally published in her book, Make Fascinators.
Category: Fascinators, Flower Making, Trimmings
What You Need
- 1 x 18 inch (46cm) square of sinamay. This will be enough to make several lilies. Use two squares in toning colours if you want to create ‘double’ lilies
- Thread to match sinamay colour(s)
- Darning needle
- Cutting out scissors
- Small, sharp pointed scissors
- Tube of quick-drying clear glue
- Ruler
- Soft (6B) pencil for marking fabric
- Glass-headed pins
Optional:
- Comb
- Narrow ribbon or embroidery thread to bind comb, in colour to match or tone with sinamay
Get Full Access
HATalk Subscribers – sign in below to view the full instructions for this project.
Not a Subscriber yet? Sign up to begin your free trial and get instant access to all of our hat making projects and e-magazines.


