Hat Making Project
Windowpane Sinamay Hat Brim
Make a windowpane sinamay brim with a hidden wire.
Hat Making Project
Windowpane Sinamay Hat Brim
Make a windowpane sinamay brim with a hidden wire.
Projects / Windowpane Sinamay Hat Brim
Project Overview
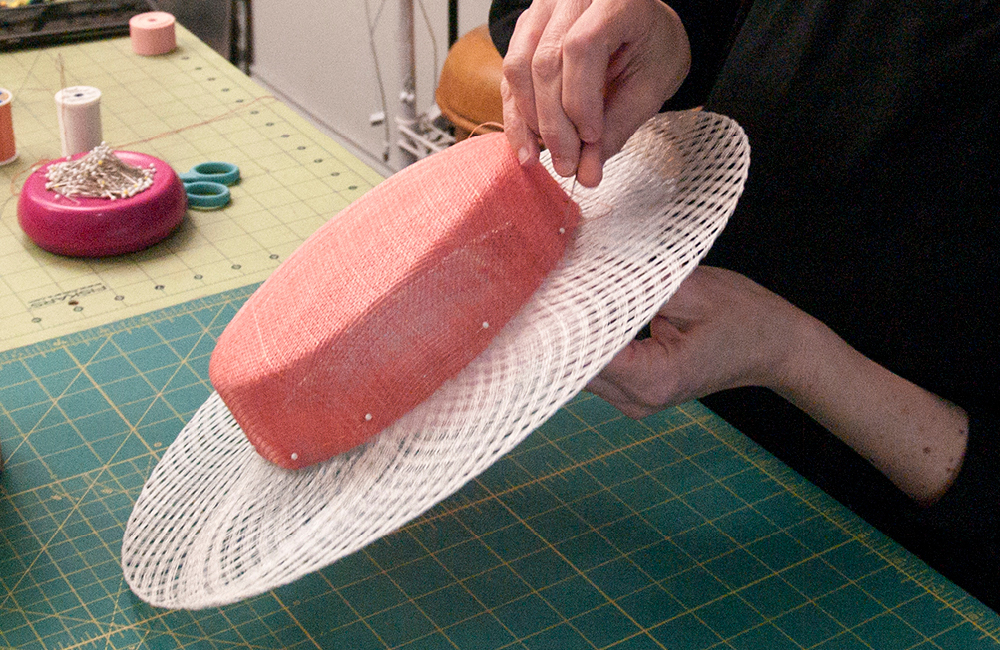
In this tutorial, multi-award winning American milliner and millinery tutor Laura Del Villaggio of Milli Starr will show you how to make a gorgeous bias-blocked sinamay hat brim with a hidden wired edge. Please note, you will need to block the hat crown separately and then join your crown to brim at the head-size with a secure backstitch. Order and prepare additional materials for the hat crown and your desired trims.
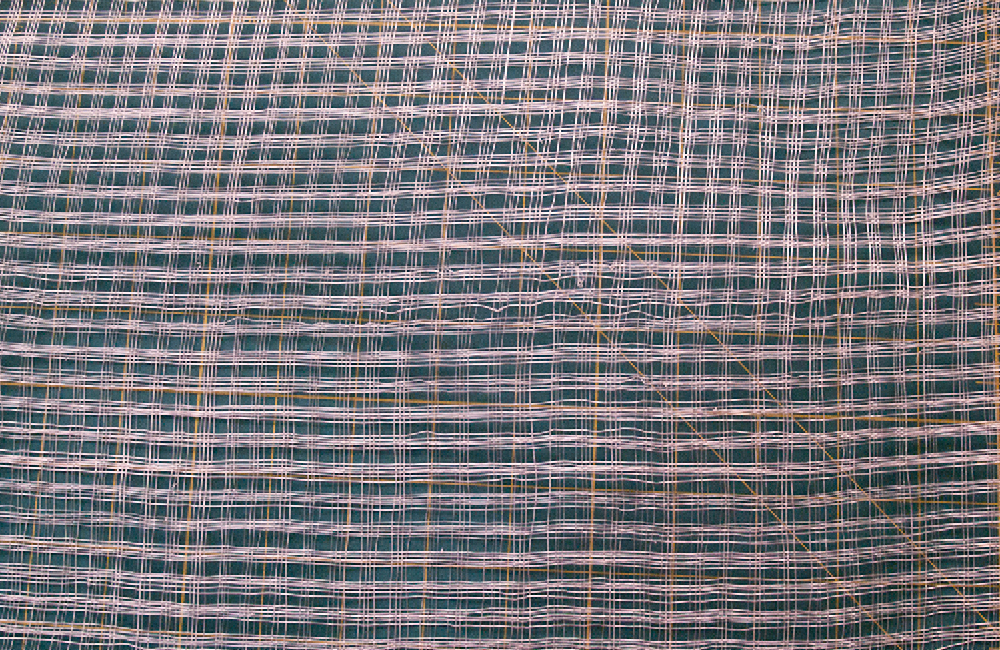
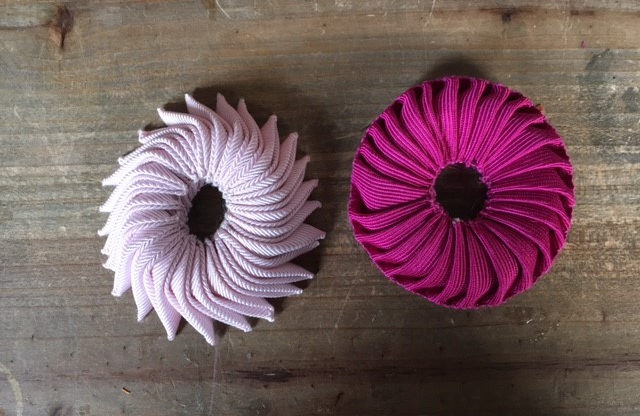
You will be working with windowpane sinamay. It is also called mesh, lattice or fishnet sinamay. It is an open-weave straw fabric with regular gaps in both the warp and weft, resulting in a ‘plaid’ pattern of open squares (or ‘windows’) between linear threads (‘stripes’). As in regular sinamay, there are occasional knots and irregularities in the weave.
Category: Hints and Tips, Trimmings

Get Full Access
HATalk Subscribers – sign in below to view the instructions for this project.
Not a Subscriber yet? Sign up to begin your free trial and get instant access to all of our projects and e-magazines.
What You Need
- 1 bias strip of windowpane sinamay, cut selvedge to selvedge. Its width will be determined by calculating 2x desired brim width plus excess (see instructions below).
- Sprung steel wire, #18 gauge
- Wire Joiner
- Brim Block
- Collar plate
- Plastic wrap to cover hat block
- Spray bottle for water
- Muslin pressing cloth
- Steam iron
- Sewing Machine
- Matching thread
- Contrast thread(s) for basting
- Blocking pins
- Pins
- Hand sewing needles
- Scissors
- Measuring Tape
- Marking pencil or tailor’s chalk
- Grosgrain or Petersham ribbon for sweatband
- Optional: Rotary cutter and mat
- Optional: Spray paint and clear sealant to paint wire when using light colored sinamay
Note: The above items are needed to make a gorgeous bias-blocked sinamay BRIM. You will need to block the hat crown separately and then join your crown to brim at the head-size with a secure backstitch. Order and prepare additional materials for the hat crown and your desired trims.
Abbreviations:
CB = Center Back
CF = Center Front
LS = Left Side
RS = Right Side
SOG = Straight of Grain
Project Overview
In this tutorial, multi-award winning American milliner and millinery tutor Laura Del Villaggio of Milli Starr will show you how to make a gorgeous bias-blocked sinamay hat brim with a hidden wired edge. Please note, you will need to block the hat crown separately and then join your crown to brim at the head-size with a secure backstitch. Order and prepare additional materials for the hat crown and your desired trims.
You will be working with windowpane sinamay. It is also called mesh, lattice or fishnet sinamay. It is an open-weave straw fabric with regular gaps in both the warp and weft, resulting in a ‘plaid’ pattern of open squares (or ‘windows’) between linear threads (‘stripes’). As in regular sinamay, there are occasional knots and irregularities in the weave.
Category: Hints and Tips, Trimmings
What You Need
- 1 bias strip of windowpane sinamay, cut selvedge to selvedge. Its width will be determined by calculating 2x desired brim width plus excess (see instructions below).
- Sprung steel wire, #18 gauge
- Wire Joiner
- Brim Block
- Collar plate
- Plastic wrap to cover hat block
- Spray bottle for water
- Muslin pressing cloth
- Steam iron
- Sewing Machine
- Matching thread
- Contrast thread(s) for basting
- Blocking pins
- Pins
- Hand sewing needles
- Scissors
- Measuring Tape
- Marking pencil or tailor’s chalk
- Grosgrain or Petersham ribbon for sweatband
- Optional: Rotary cutter and mat
- Optional: Spray paint and clear sealant to paint wire when using light colored sinamay
Note: The above items are needed to make a gorgeous bias-blocked sinamay BRIM. You will need to block the hat crown separately and then join your crown to brim at the head-size with a secure backstitch. Order and prepare additional materials for the hat crown and your desired trims.
Abbreviations:
CB = Center Back
CF = Center Front
LS = Left Side
RS = Right Side
SOG = Straight of Grain
Get Full Access
HATalk Subscribers – sign in below to view the full instructions for this project.
Not a Subscriber yet? Sign up to begin your free trial and get instant access to all of our hat making projects and e-magazines.


")