
Blog / Using Veiling in Millinery

Using Veiling in Millinery
Veiling
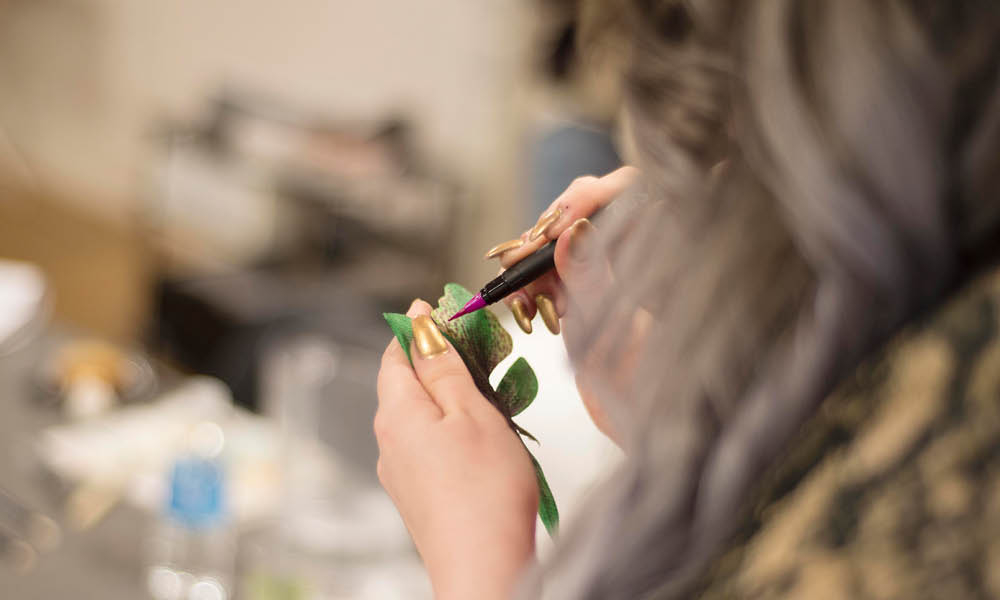
One of the classiest details you can add to a millinery design is a veil. Veils add an air of mystery and romance to any look. They can be made in a wide variety of styles and sizes and can be embellished for an even more unique design. Simple veils are not difficult to make and are fun to sculpt and shape to find interesting effects.
Designing Veils
Veils are often made using netted materials, which are commonly referred to as veiling. These days, veiling is normally made from synthetic materials, but vintage netting was made with silk. Even when made with synthetic materials, modern netting is shapeable with steam and can be stiffened.
When designing a veil, there are several features to consider. If you are designing for a client, what is their event? Veils can be designed to cover the entire face, just the eyes, or even just a single eye. You can also design the veil to be a full veil around the entire circumference of the hat.

Veiling responds well to blocking with steam. There are wooden blocks available specifically for the purpose of blocking veils but you can also use a rounded crown block or poupée head. Before starting on your veil, make sure to iron your netting flat and to cover your block with plastic wrap to protect it from damage.
Many different veiling styles need to be blocked. I will explain more about how to make two popular ones, the double gathered veil and the cylinder veil, now.
Double-Gathered Face Veil
The easiest style of veil to make is a double gathered face veil. With two gathering points at either end of your fabric, you have more flexibility of how to style the veil. Cut a length of netting slightly longer than the desired finished length. Gather up one end of the netting and use a piece of thread to wrap the end tight. Clip away any excess fabric and secure with a clear glue. Allow to dry.
Once dry, position the gathered end slightly above one ear, and stretch across the face to determine where to make the second gather. Make sure to keep the top edge tight, with a rounded drape across the bottom of the veil. Wrap the gather and secure with glue as with the first end. Once dry, you can secure the ends to your hat, a headband, or combs.

Cylinder Veil
A cylinder veil will cover the head all the way around. Measure all the way around the head and cut a piece of netting with an overlap. Bring together the ends of the netting to form a cylinder, with the overlapping netting lined up on the squares. The seam can be sewn or glued. Once the cylinder is secured, place the shape on your block and pin at the base all the way around.
Steam and pull the netting into a central gather at the top of the block into a dome shape. Gather as tightly as possible and secure with pins. Steam thoroughly and allow to dry completely. While still on the block, treat with hairspray or stiffener for extra support. You can also embellish your veil by adding crystals, bows or other decorations. An easy way to add ‘Merry Widow‘ style dots to your veil is to cut a pipe cleaner into 1” pieces and then wrap them tightly around the netting.

Once set, you can remove the pins but keep the veil in place. Cut back the excess netting to around 5mm. Unpin the bottom edge and remove from the block. To finish, you will need to cut a circle (approx. 4cm) out of felt or another sturdy material. Install the fabric circle from the inside, pushing it up into the top of the dome. Secure with a few drops of glue, then sew the loose ends in place and trim. You can hide the top with a second fabric circle or decorate it with flowers or other trims.
Experimenting with Veils
There are endless options for designing and wearing millinery veils. They are a simple and elegant way to elevate any look. As well as netting, veils can also be made out of sheer materials like organza and chiffon. Check out the HATalk Veiling Projects for new ideas for working with these millinery materials.

About the Author
Amy Fowler is the creator of the bespoke, California-based Millinery by Amy Fowler label. She also runs Humboldt Haberdashery, an online millinery supplier.
See Amy’s full bio HERE.
Popular Articles

Latest e-Magazine

Featured Supplier
Using Veiling in Millinery
Veiling
One of the classiest details you can add to a millinery design is a veil. Veils add an air of mystery and romance to any look. They can be made in a wide variety of styles and sizes and can be embellished for an even more unique design. Simple veils are not difficult to make and are fun to sculpt and shape to find interesting effects.
Designing Veils
Veils are often made using netted materials, which are commonly referred to as veiling. These days, veiling is normally made from synthetic materials, but vintage netting was made with silk. Even when made with synthetic materials, modern netting is shapeable with steam and can be stiffened.
When designing a veil, there are several features to consider. If you are designing for a client, what is their event? Veils can be designed to cover the entire face, just the eyes, or even just a single eye. You can also design the veil to be a full veil around the entire circumference of the hat.
Veiling responds well to blocking with steam. There are wooden blocks available specifically for the purpose of blocking veils but you can also use a rounded crown block or poupée head. Before starting on your veil, make sure to iron your netting flat and to cover your block with plastic wrap to protect it from damage.
Many different veiling styles need to be blocked. I will explain more about how to make two popular ones, the double gathered veil and the cylinder veil, now.
Double-Gathered Face Veil
The easiest style of veil to make is a double gathered face veil. With two gathering points at either end of your fabric, you have more flexibility of how to style the veil. Cut a length of netting slightly longer than the desired finished length. Gather up one end of the netting and use a piece of thread to wrap the end tight. Clip away any excess fabric and secure with a clear glue. Allow to dry.
Once dry, position the gathered end slightly above one ear, and stretch across the face to determine where to make the second gather. Make sure to keep the top edge tight, with a rounded drape across the bottom of the veil. Wrap the gather and secure with glue as with the first end. Once dry, you can secure the ends to your hat, a headband, or combs.
Cylinder Veil
A cylinder veil will cover the head all the way around. Measure all the way around the head and cut a piece of netting with an overlap. Bring together the ends of the netting to form a cylinder, with the overlapping netting lined up on the squares. The seam can be sewn or glued. Once the cylinder is secured, place the shape on your block and pin at the base all the way around.
Steam and pull the netting into a central gather at the top of the block into a dome shape. Gather as tightly as possible and secure with pins. Steam thoroughly and allow to dry completely. While still on the block, treat with hairspray or stiffener for extra support. You can also embellish your veil by adding crystals, bows or other decorations. An easy way to add ‘Merry Widow‘ style dots to your veil is to cut a pipe cleaner into 1” pieces and then wrap them tightly around the netting.
Once set, you can remove the pins but keep the veil in place. Cut back the excess netting to around 5mm. Unpin the bottom edge and remove from the block. To finish, you will need to cut a circle (approx. 4cm) out of felt or another sturdy material. Install the fabric circle from the inside, pushing it up into the top of the dome. Secure with a few drops of glue, then sew the loose ends in place and trim. You can hide the top with a second fabric circle or decorate it with flowers or other trims.
Experimenting with Veils
There are endless options for designing and wearing millinery veils. They are a simple and elegant way to elevate any look. As well as netting, veils can also be made out of sheer materials like organza and chiffon. Check out the HATalk Veiling Projects for new ideas for working with these millinery materials.
About the Author
Amy Fowler is the creator of the bespoke, California-based Millinery by Amy Fowler label. She also runs Humboldt Haberdashery, an online millinery supplier.
See Amy’s full bio HERE.
Popular Articles
Latest e-Magazine
Featured Supplier
