Hat Making Project
Blocked Hat Lining
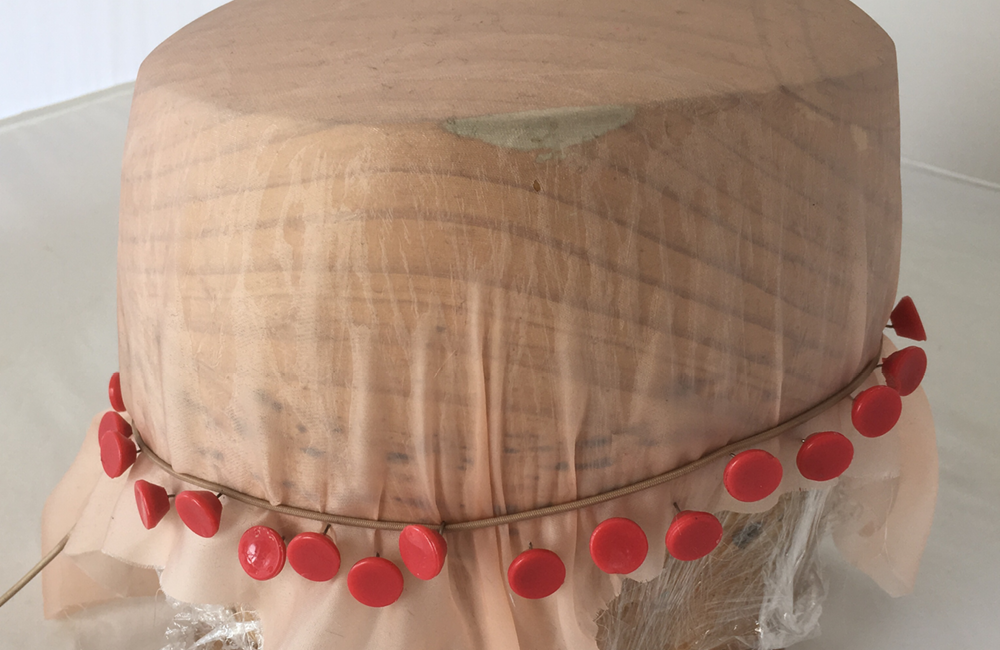
Block a perfectly fitting silk hat lining to put inside your crown.

Hat Making Project
Blocked Hat Lining
Block a perfectly fitting silk hat lining to put inside your crown.
Projects / Blocked Hat Lining
Project Overview
When I’m developing or extending a technique for my busy Sydney millinery practice I have two main priorities. First, the result has to be a polished and professional finish. Second, ideally it is quick, inexpensive and labour efficient (time is money!). This is one of my favourites…
Sometimes a hat needs a lining! Maybe you’ve covered a buckram or sparterie foundation with a beautiful fabric, some vintage strawcloth or blocked leather. Perhaps you’ve chosen an unusually shaped block.
This blocked hat lining tutorial was written by Australian milliner Jane Stoddart.
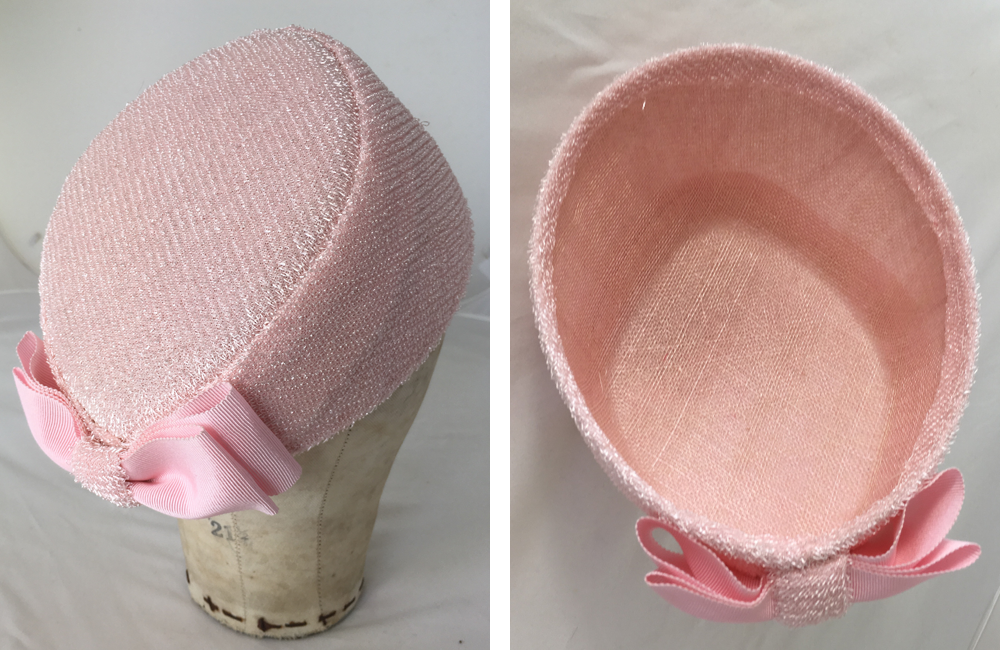
Pleated or vintage style linings look wonderful but they are labour intensive and can look a little heavy or ‘old school’ depending on the style of your millinery piece.
My favourite way to line a blocked hat is to make a blocked lining to match using stiffened fine jap silk or gazar. The finished lining is smooth, crisp, and minimal. And SO quick and easy to make!
Category: Hats, Hints and Tips
Get Full Access
HATalk Subscribers – sign in below to view the instructions for this project.
Not a Subscriber yet? Sign up to begin your free trial and get instant access to all of our projects and e-magazines.
What You Need
- Unlined hat or headpiece
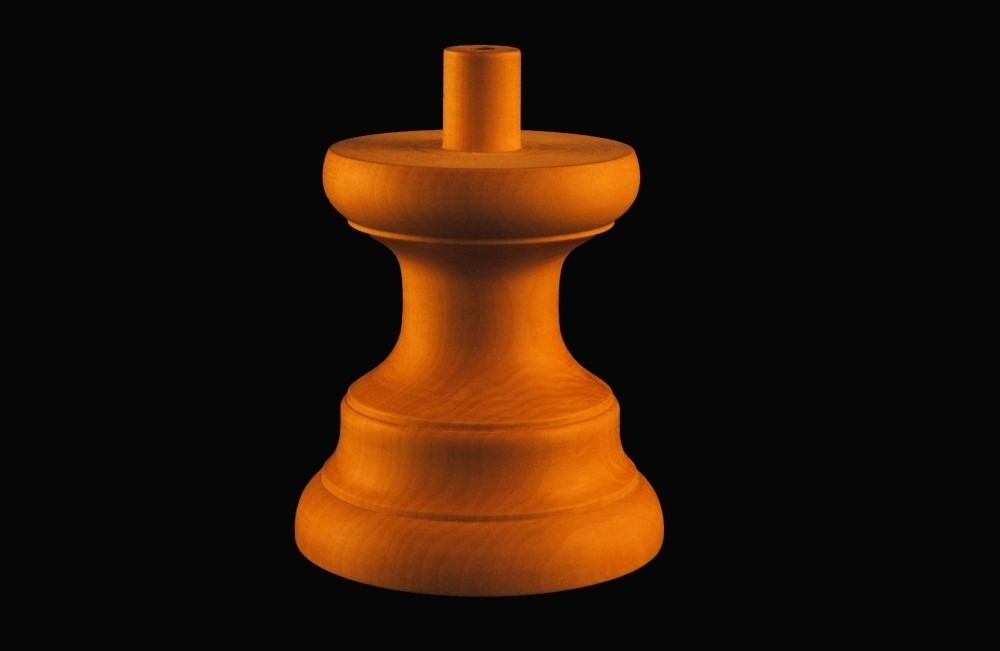
- The hat block used for the hat/Dome block or similar
- Enough fine silk fabric (eg. jap silk or gazar) or synthetic habutai to comfortably line your hat (note – Fabric should be thin and light, with a bit of bias stretch, not too tightly woven.)
- PVA glue or similar water based millinery stiffener
- Water
- Bowl
- Cling wrap to cover block
- Blocking pins
- Blocking cord or elastic
- Scissors, needle, thread, berry pins
- Head size length of millinery Petersham ribbon to finish
Project Overview
When I’m developing or extending a technique for my busy Sydney millinery practice I have two main priorities. First, the result has to be a polished and professional finish. Second, ideally it is quick, inexpensive and labour efficient (time is money!). This is one of my favourites…
Sometimes a hat needs a lining! Maybe you’ve covered a buckram or sparterie foundation with a beautiful fabric, some vintage strawcloth or blocked leather. Perhaps you’ve chosen an unusually shaped block.
This blocked hat lining tutorial was written by Australian milliner Jane Stoddart.

Pleated or vintage style linings look wonderful but they are labour intensive and can look a little heavy or ‘old school’ depending on the style of your millinery piece.
My favourite way to line a blocked hat is to make a blocked lining to match using stiffened fine jap silk or gazar. The finished lining is smooth, crisp, and minimal. And SO quick and easy to make!
Category: Hats, Hints and Tips
What You Need
- Unlined hat or headpiece
- The hat block used for the hat/Dome block or similar
- Enough fine silk fabric (eg. jap silk or gazar) or synthetic habutai to comfortably line your hat (note – Fabric should be thin and light, with a bit of bias stretch, not too tightly woven.)
- PVA glue or similar water based millinery stiffener
- Water
- Bowl
- Cling wrap to cover block
- Blocking pins
- Blocking cord or elastic
- Scissors, needle, thread, berry pins
- Head size length of millinery Petersham ribbon to finish
Get Full Access
HATalk Subscribers – sign in below to view the full instructions for this project.
Not a Subscriber yet? Sign up to begin your free trial and get instant access to all of our hat making projects and e-magazines.

