

Hat Making Project
Metallic Feather
Turn an everyday hat into a statement piece with this metallic feather treatment.
Hat Making Project
Metallic Feather
Turn an everyday hat into a statement piece with this metallic feather treatment.
Projects / Metallic Feather
Project Overview
You can use this trimming technique to turn a simple hat into a statement piece with a single feather.
In this tutorial, London milliner Elena Shvab shows you how to use her signature metallic feather treatment to elevate an everyday wool felt beret into a stunning piece of occasion wear.
For this project, Elena used a goose feather. This is a good variety to start with as it’s usually pretty easy to find inexpensive and ethically sourced goose feathers. Plus, they respond well to this treatment. Once you get the hang of this technique, you can experiment with different feather varieties.
You’ll also need Bondaweb (an iron-on adhesive) and some decorative metallic foil sheets to complete this tutorial. Both of these materials can be purchased online and from most craft and fabric stores.
Category: Trimmings

Get Full Access
HATalk Subscribers – sign in below to view the instructions for this project.
Not a Subscriber yet? Sign up to begin your free trial and get instant access to all of our projects and e-magazines.
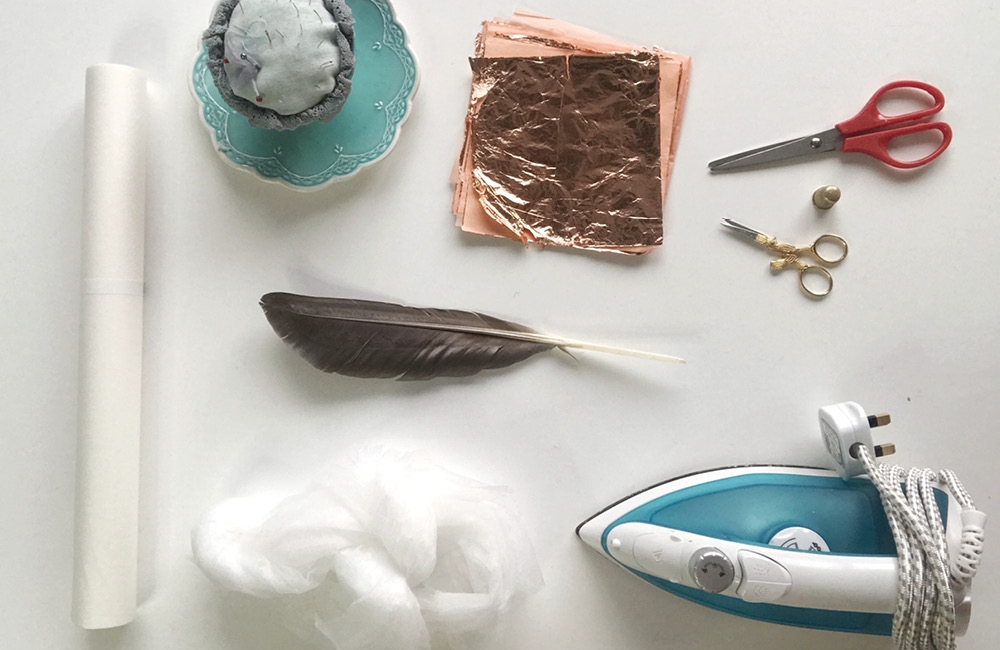
What You Need
- Bondaweb
- Metallic foil
- Goose Feather
- Glue (UHU or similar)
- Small soft paintbrush
- Baking paper (parchment paper)
- Iron (no steam)
- Ironing board or an ironing cloth
- Wet wipes
- Scissors
- Fishing wire (invisible thread)
- Needle
- Pins
- Hat base
Project Overview
You can use this trimming technique to turn a simple hat into a statement piece with a single feather.
In this tutorial, London milliner Elena Shvab shows you how to use her signature metallic feather treatment to elevate an everyday wool felt beret into a stunning piece of occasion wear.
For this project, Elena used a goose feather. This is a good variety to start with as it’s usually pretty easy to find inexpensive and ethically sourced goose feathers. Plus, they respond well to this treatment. Once you get the hang of this technique, you can experiment with different feather varieties.
You’ll also need Bondaweb (an iron-on adhesive) and some decorative metallic foil sheets to complete this tutorial. Both of these materials can be purchased online and from most craft and fabric stores.
Category: Trimmings
What You Need
- Bondaweb
- Metallic foil
- Goose Feather
- Glue (UHU or similar)
- Small soft paintbrush
- Baking paper (parchment paper)
- Iron (no steam)
- Ironing board or an ironing cloth
- Wet wipes
- Scissors
- Fishing wire (invisible thread)
- Needle
- Pins
- Hat base
Get Full Access
HATalk Subscribers – sign in below to view the full instructions for this project.
Not a Subscriber yet? Sign up to begin your free trial and get instant access to all of our hat making projects and e-magazines.
