Hat Making Project
Crinoline Veil
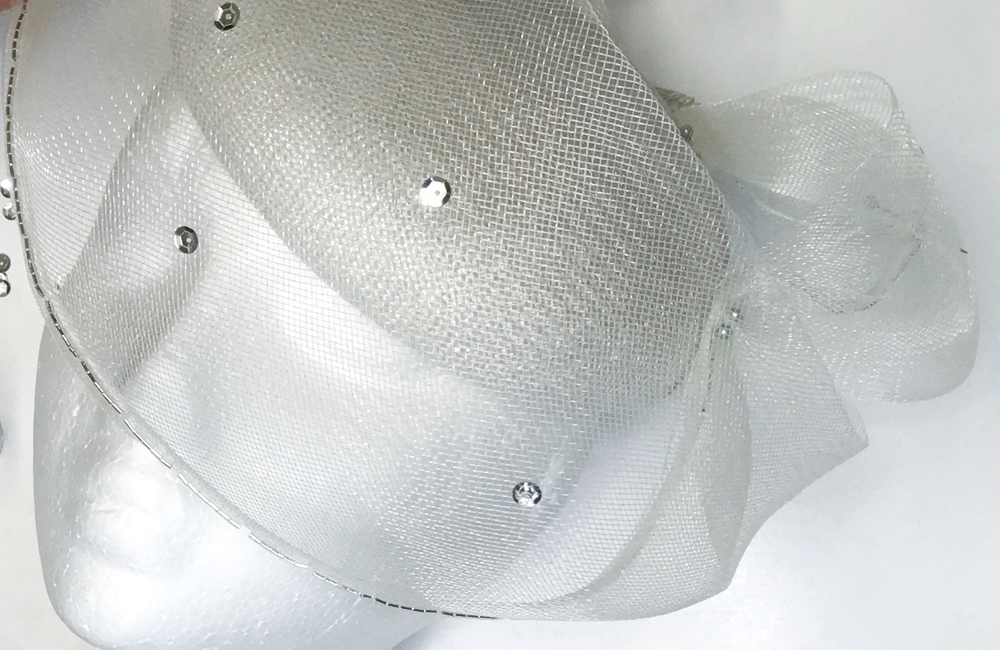
Create a wired crinoline veil and attach it to a hat.

Hat Making Project
Crinoline Veil
Create a wired crinoline veil and attach it to a hat.
Projects / Crinoline Veil
Project Overview
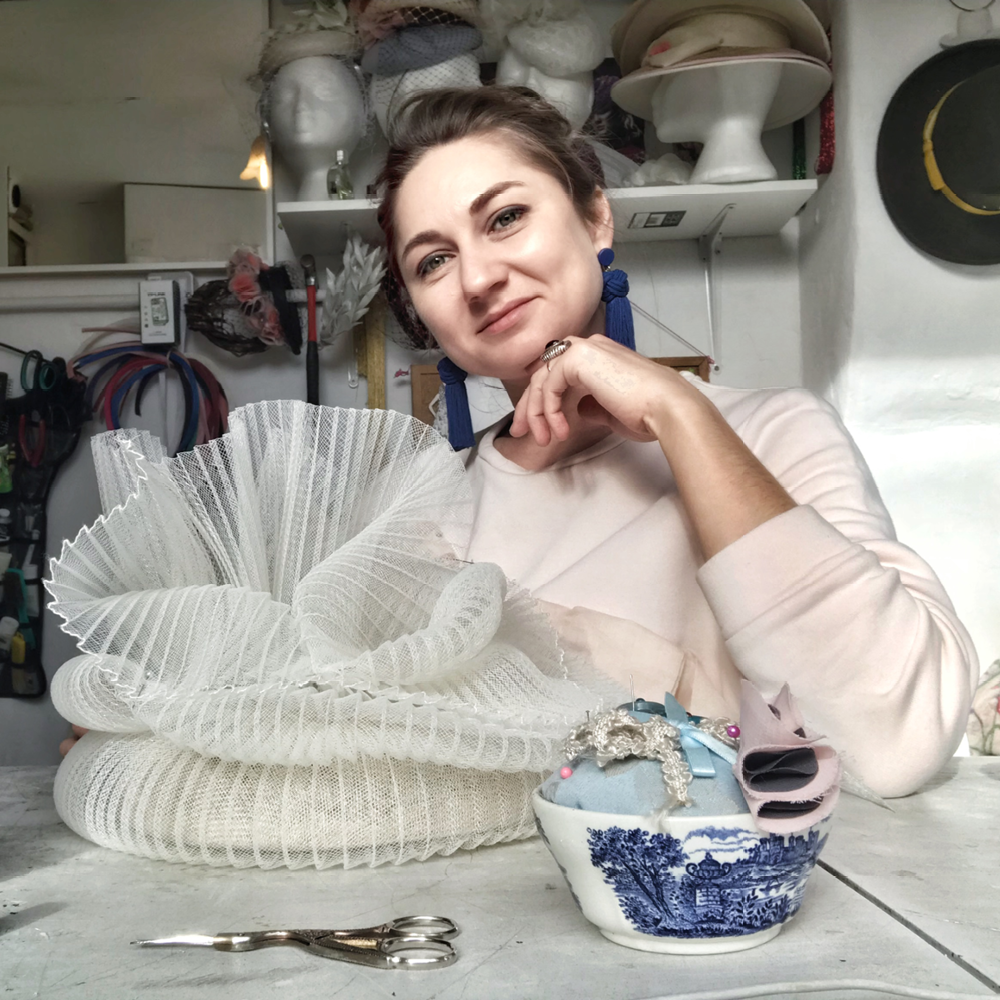
In this step-by-step tutorial, London milliner and HATalk tutor Elena Shvab will teach you how to make a freeform crinoline veil with a beaded wired edge.
Crinoline is having a moment. This synthetic millinery material can certainly be a handful at times but learning how to master it is definitely worth the effort. There are so many different types of crinoline (also known as crin or horsehair). It comes in a whole assortment of widths, colours and textures and you can create beautiful shapes by twisting and folding it, with or without wire.
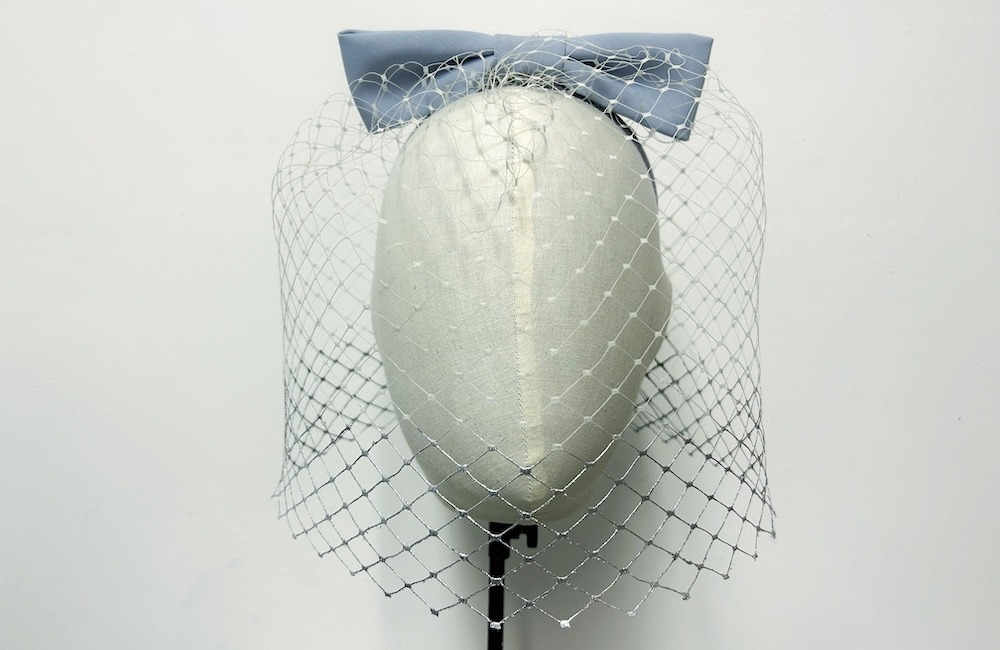
The crinoline veil in this tutorial is big enough to go around a small button base with a few twists and folds. It was made from approximately 1 metre (1 yard) of flat crinoline. Of course, you can adapt this technique to make a bigger or smaller design. Simply adjust the material measurements as needed.
A white or ivory crinoline veil is the perfect finishing touch for a bridal hat. If you are looking for something more versatile, however, a brightly coloured crin veil will really pop on a cocktail hat.
Without a doubt, crinoline is one of the most challenging millinery materials around and understanding its movement and properties is essential to success. Once you do understand how to work with it, though, it offers so many possibilities to create stunning decorations for your hats and headpieces.
Elena also teaches specialist crinoline millinery workshops online and in her London studio. Go to www.elenashvab.com for more details.
Get Full Access
HATalk Subscribers – sign in below to view the instructions for this project.
Not a Subscriber yet? Sign up to begin your free trial and get instant access to all of our projects and e-magazines.
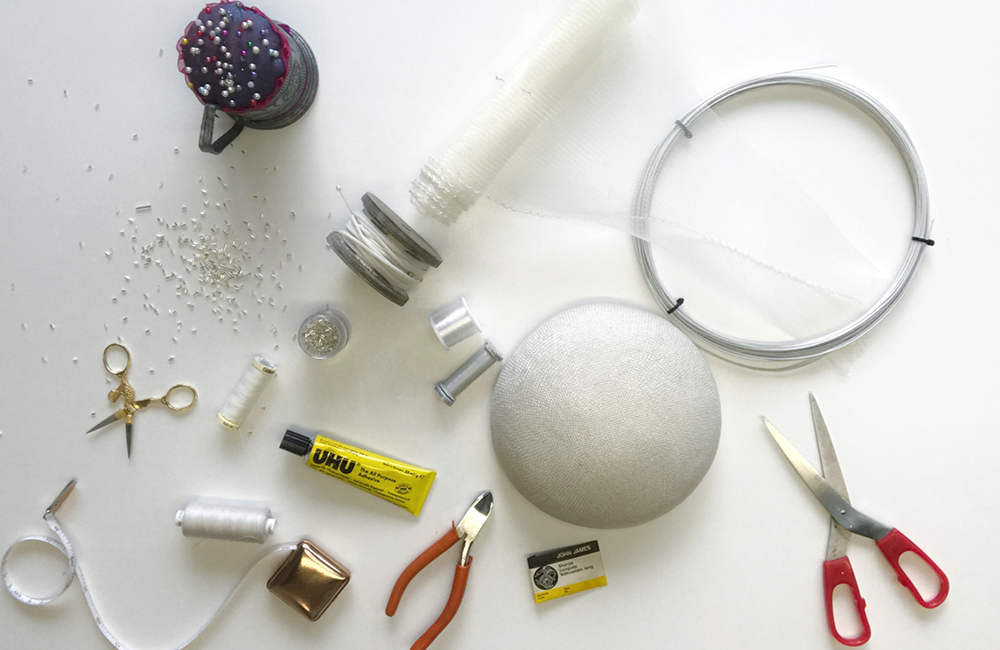
What You Need
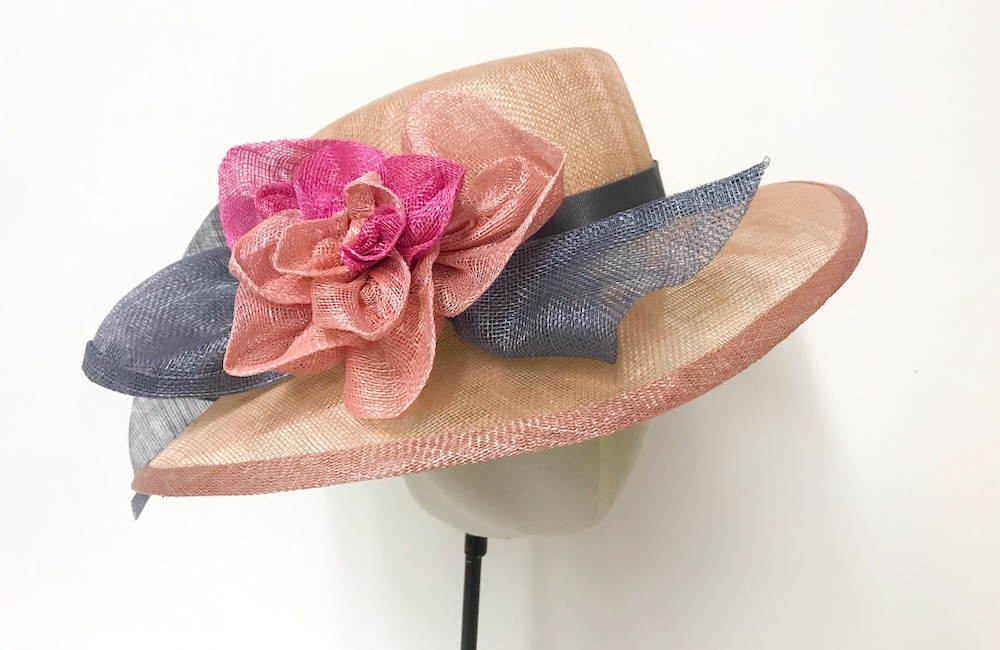
- Blocked hat base (For a tutorial on making a straw button hat like the one pictured, click HERE)
- 1m (1yd) of 1mm (approx. 30 gauge) soft covered millinery wire, plus an extra 2-3cm (3/4 -1″) for the edges
- 1m (1yd) piece of 15cm (6″) wide flat crinoline
- 1m (1yd) of 2.5mm tubular crinoline
- Invisible thread (fishing wire)
- Measuring tape
- Scissors
- Needle & matching thread
- Transparent fabric glue (eg. UHU)
- Dressmaking pins
- Beads (optional)
- Pliers for cutting wire
Project Overview
In this step-by-step tutorial, London milliner and HATalk tutor Elena Shvab will teach you how to make a freeform crinoline veil with a beaded wired edge.
Crinoline is having a moment. This synthetic millinery material can certainly be a handful at times but learning how to master it is definitely worth the effort. There are so many different types of crinoline (also known as crin or horsehair). It comes in a whole assortment of widths, colours and textures and you can create beautiful shapes by twisting and folding it, with or without wire.
The crinoline veil in this tutorial is big enough to go around a small button base with a few twists and folds. It was made from approximately 1 metre (1 yard) of flat crinoline. Of course, you can adapt this technique to make a bigger or smaller design. Simply adjust the material measurements as needed.
A white or ivory crinoline veil is the perfect finishing touch for a bridal hat. If you are looking for something more versatile, however, a brightly coloured crin veil will really pop on a cocktail hat.
Without a doubt, crinoline is one of the most challenging millinery materials around and understanding its movement and properties is essential to success. Once you do understand how to work with it, though, it offers so many possibilities to create stunning decorations for your hats and headpieces.
Elena also teaches specialist crinoline millinery workshops online and in her London studio. Go to www.elenashvab.com for more details.
What You Need
- Blocked hat base (For a tutorial on making a straw button hat like the one pictured, click HERE)
- 1m (1yd) of 1mm (approx. 30 gauge) soft covered millinery wire, plus an extra 2-3cm (3/4 -1″) for the edges
- 1m (1yd) piece of 15cm (6″) wide flat crinoline
- 1m (1yd) of 2.5mm tubular crinoline
- Invisible thread (fishing wire)
- Measuring tape
- Scissors
- Needle & matching thread
- Transparent fabric glue (eg. UHU)
- Dressmaking pins
- Beads (optional)
- Pliers for cutting wire
Get Full Access
HATalk Subscribers – sign in below to view the full instructions for this project.
Not a Subscriber yet? Sign up to begin your free trial and get instant access to all of our hat making projects and e-magazines.
