Hat Making Project
Hand Sewing Sinamay
Learn basic starting and finishing stitches for hand sewing sinamay, as well as the best needles for this millinery material.

Hat Making Project
Hand Sewing Sinamay
Learn basic starting and finishing stitches for hand sewing sinamay, as well as the best needles for this millinery material.
Projects / Hand Sewing Sinamay
Project Overview
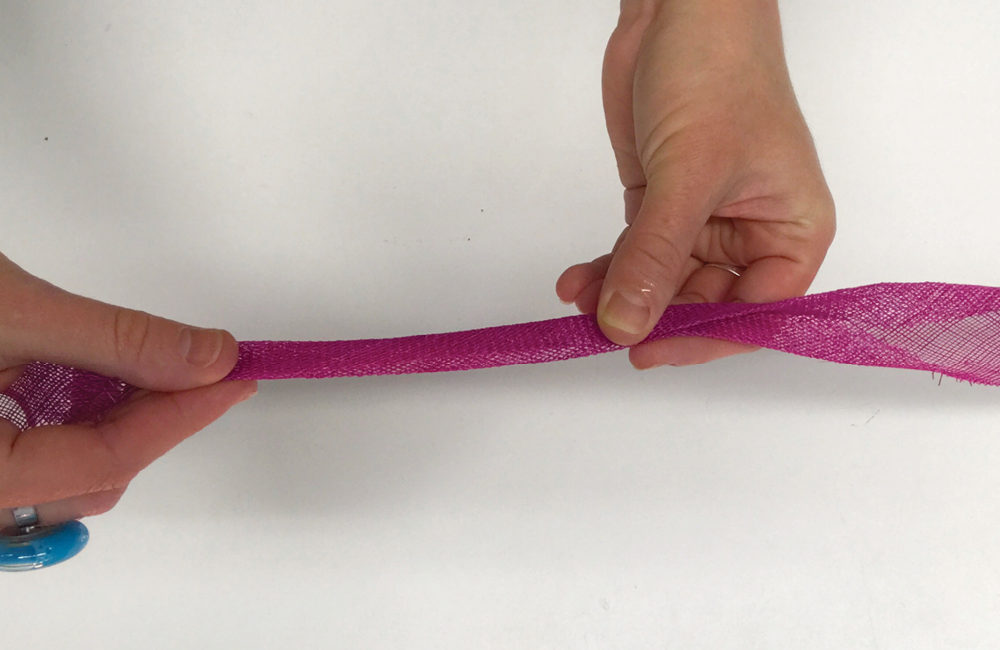
Sinamay is a very loosely woven fabric and is also quite stiff. The standard methods of starting to stitch and of finishing off which apply in dressmaking, such as using a double stitch, don’t easily apply when hand sewing sinamay. The starting and finishing stitches shown in this tutorial, however, will work well on this lightweight material.
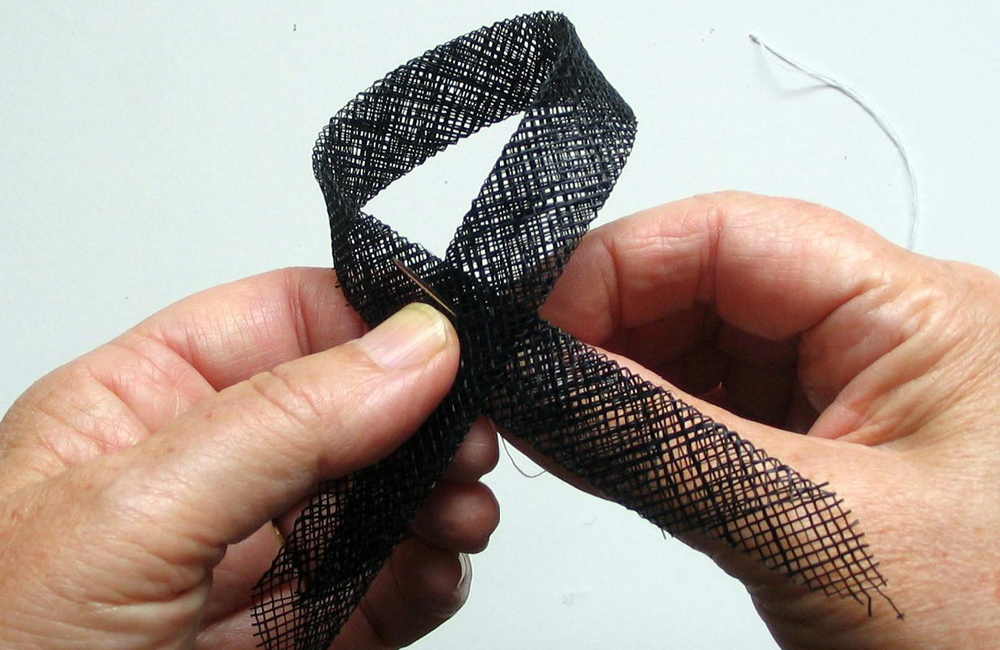
Our illustrations use white thread on black sinamay for clarity, but you will want to use a thread to exactly match your sinamay colour so that the stitches will be invisible (or as close as possible).
If you want to get better at hand sewing sinamay, create a practice piece. You can do this by fusing two layers of pre-stiffened sinamay together with a steam iron.
Use a good quality thread which is strong and less likely to knot. Sinamay is very spiky, so threads often catch on raw edges. Be patient and you will quickly get the knack of keeping your thread away from these as much as possible. Use doubled thread and knot the end.
Always sew sinamay with long, sharp and strong needles – darning or milliners’ (straw) needles work best. It is also helpful to use a thimble. This can really help when pushing sharp needles through several layers of this unyielding material.
Hand sewing sinamay is a basic technique needed for many millinery projects.
This tutorial was written by HATalk Founder Ann Morse-Brown and was originally published in her book, Make Fascinators.
Category: Hints and Tips
Get Full Access
HATalk Subscribers – sign in below to view the instructions for this project.
Not a Subscriber yet? Sign up to begin your free trial and get instant access to all of our projects and e-magazines.
What You Need
- Sinamay
- Darner or Milliner’s/Straw Needle
- Matching Thread
- Thimble
Project Overview
Sinamay is a very loosely woven fabric and is also quite stiff. The standard methods of starting to stitch and of finishing off which apply in dressmaking, such as using a double stitch, don’t easily apply when hand sewing sinamay. The starting and finishing stitches shown in this tutorial, however, will work well on this lightweight material.
Our illustrations use white thread on black sinamay for clarity, but you will want to use a thread to exactly match your sinamay colour so that the stitches will be invisible (or as close as possible).
If you want to get better at hand sewing sinamay, create a practice piece. You can do this by fusing two layers of pre-stiffened sinamay together with a steam iron.
Use a good quality thread which is strong and less likely to knot. Sinamay is very spiky, so threads often catch on raw edges. Be patient and you will quickly get the knack of keeping your thread away from these as much as possible. Use doubled thread and knot the end.
Always sew sinamay with long, sharp and strong needles – darning or milliners’ (straw) needles work best. It is also helpful to use a thimble. This can really help when pushing sharp needles through several layers of this unyielding material.
Hand sewing sinamay is a basic technique needed for many millinery projects.
This tutorial was written by HATalk Founder Ann Morse-Brown and was originally published in her book, Make Fascinators.
Category: Hints and Tips
What You Need
- Sinamay
- Darner or Milliner’s/Straw Needle
- Matching Thread
- Thimble
Get Full Access
HATalk Subscribers – sign in below to view the full instructions for this project.
Not a Subscriber yet? Sign up to begin your free trial and get instant access to all of our hat making projects and e-magazines.

