Hat Making Project
Sinamay Fascinator
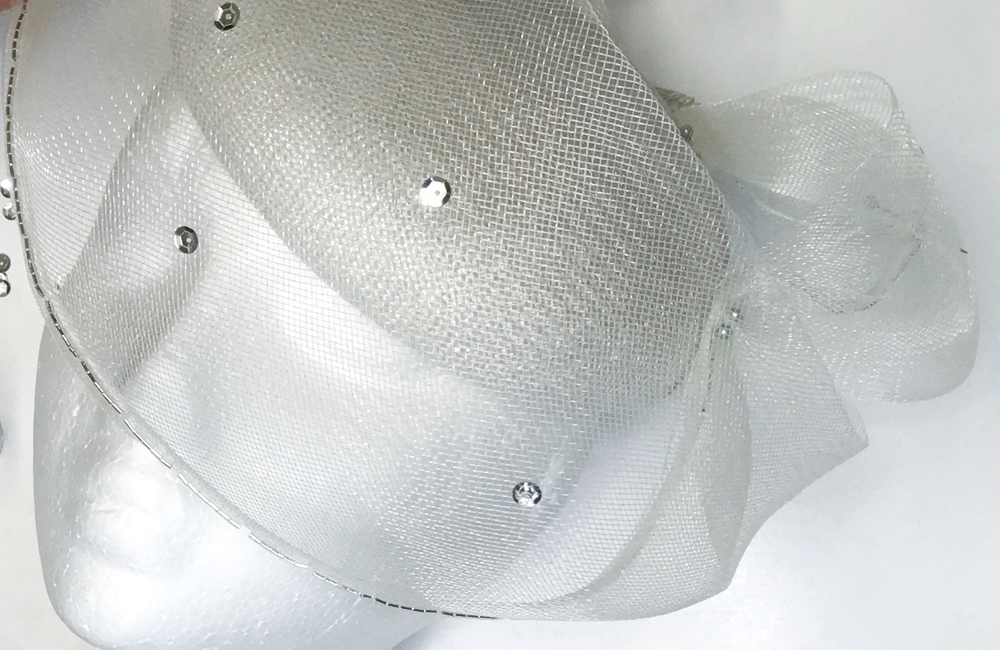
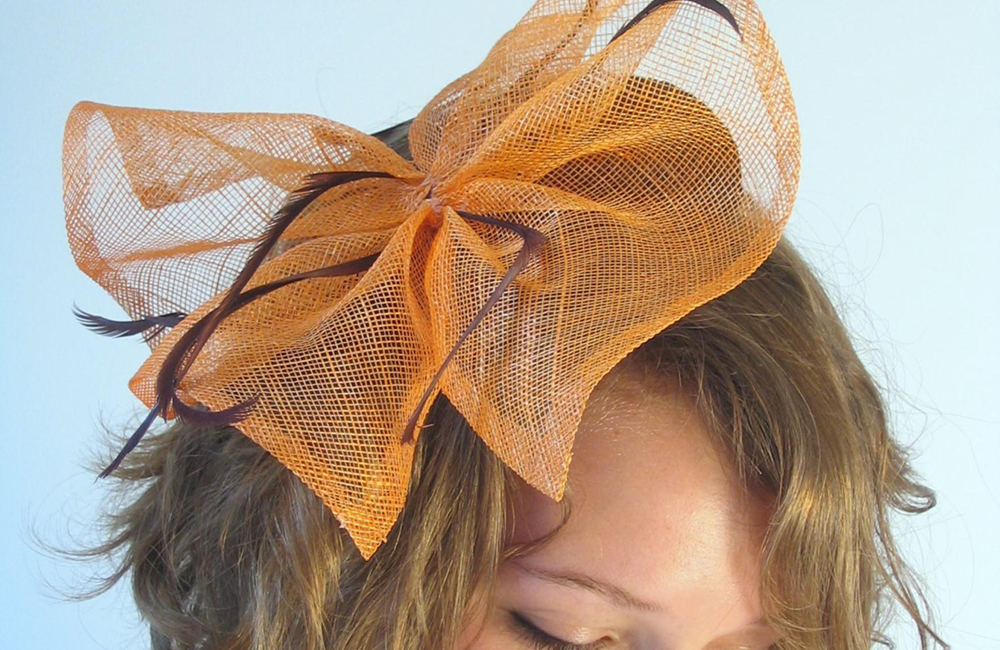
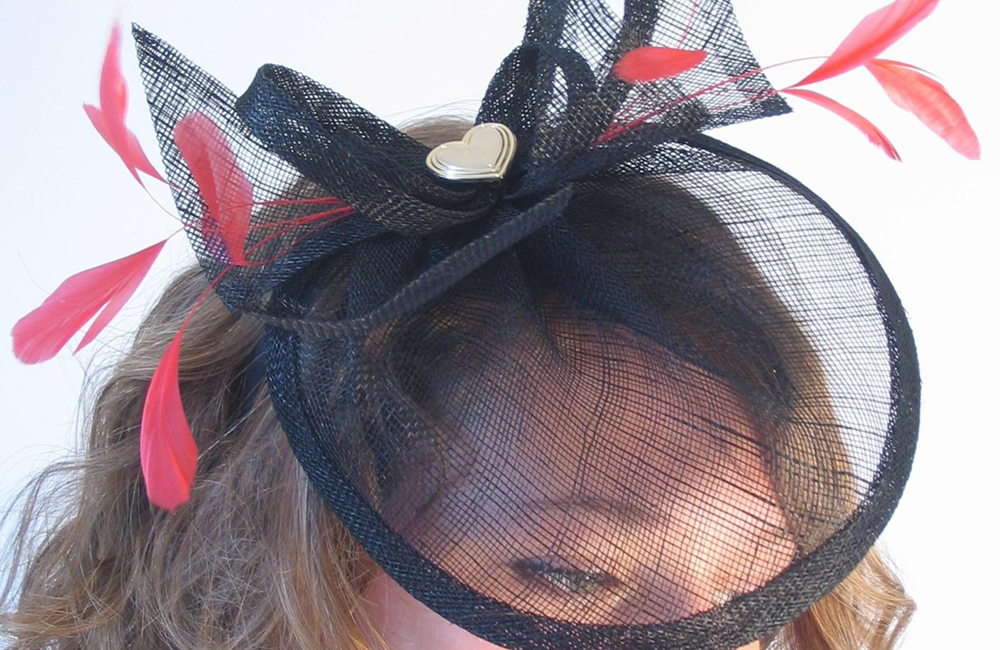
Use pieces of sinamay left over from other millinery projects to create a small bias strip and triangles fascinator.

Hat Making Project
Sinamay Fascinator
Use pieces of sinamay left over from other millinery projects to create a small bias strip and triangles fascinator.
Projects / Sinamay Fascinator
Project Overview
Hate to throw things away? If you have scraps of sinamay leftover from other projects, you could use them to make this quick fascinator.
In this tutorial, you will learn how to turn your offcuts into bias strips and triangles. In just a few steps, these can then be turned into a simple sinamay fascinator.
By adding a few stripped coque feathers, you can give your creation some extra pizazz. Once your finished sinamay fascinator is attached to a clip or a hat base, it’s ready to wear. And if you alter the shapes, add different feathers or experiment with material colours, you can make all kinds of creative variations on this simple headpiece.
This sinamay fascinator project is perfect for millinery beginners. It’s also a great way to tidy up all of those sinamay scraps laying around your workroom.
This tutorial was written by HATalk Founder Ann Morse-Brown and was originally published in her book, Make Fascinators.
Category: Fascinators, Trimmings
Get Full Access
HATalk Subscribers – sign in below to view the instructions for this project.
Not a Subscriber yet? Sign up to begin your free trial and get instant access to all of our projects and e-magazines.
What You Need
- Leftover pieces of stiffened sinamay
- 10 stripped coque feathers, colour(s) to tone with sinamay
- Darning needle and thread to match sinamay
- Tube of quick-drying clear glue
- Scissors for cutting out
- Small, sharp pointed scissors
- Iron with steam setting and ironing board
- Brooch (optional)
- Ready-made base or a clip
Project Overview
Hate to throw things away? If you have scraps of sinamay leftover from other projects, you could use them to make this quick fascinator.
In this tutorial, you will learn how to turn your offcuts into bias strips and triangles. In just a few steps, these can then be turned into a simple sinamay fascinator.
By adding a few stripped coque feathers, you can give your creation some extra pizazz. Once your finished sinamay fascinator is attached to a clip or a hat base, it’s ready to wear. And if you alter the shapes, add different feathers or experiment with material colours, you can make all kinds of creative variations on this simple headpiece.
This sinamay fascinator project is perfect for millinery beginners. It’s also a great way to tidy up all of those sinamay scraps laying around your workroom.
This tutorial was written by HATalk Founder Ann Morse-Brown and was originally published in her book, Make Fascinators.
Category: Fascinators, Trimmings
What You Need
- Leftover pieces of stiffened sinamay
- 10 stripped coque feathers, colour(s) to tone with sinamay
- Darning needle and thread to match sinamay
- Tube of quick-drying clear glue
- Scissors for cutting out
- Small, sharp pointed scissors
- Iron with steam setting and ironing board
- Brooch (optional)
- Ready-made base or a clip
Get Full Access
HATalk Subscribers – sign in below to view the full instructions for this project.
Not a Subscriber yet? Sign up to begin your free trial and get instant access to all of our hat making projects and e-magazines.

