Hat Making Project
Wiring a Sinamay Edge
Learn how to wire and bind a sinamay edge by hand, using a practice piece to develop your millinery skills.

Hat Making Project
Wiring a Sinamay Edge
Learn how to wire and bind a sinamay edge by hand, using a practice piece to develop your millinery skills.
Projects / Wiring a Sinamay Edge
Project Overview
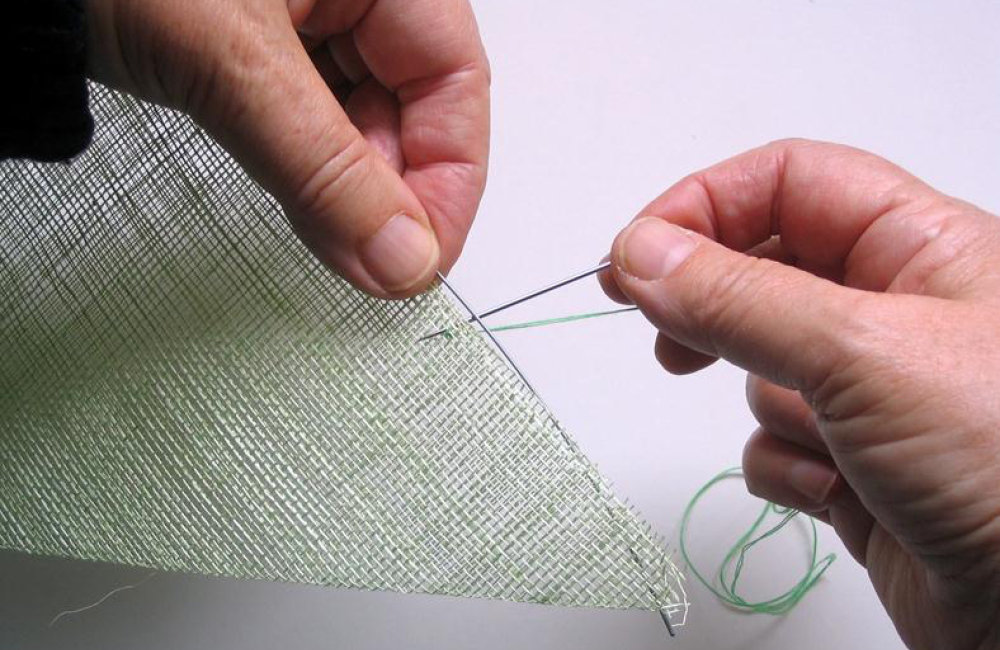
As well as simple starting and finishing stitches, millinery students need to know how to wire and bind a sinamay edge by hand.
If you want to improve your sinamay sewing skills before working on a project, then create a practice piece. You can do this by ironing two layers of stiffened sinamay together, using the iron’s steam setting to fuse them, and then cutting a curve along one edge. If you are using unstiffened sinamay, then spray the pieces with spray starch before ironing to achieve the same effect.
For wiring a sinamay edge, you will also need a short length of wire to attach to the curve and bias binding to finish the edge.
This tutorial was written by HATalk Founder Ann Morse-Brown and was originally published in her book, Make Fascinators.
Category: Hints and Tips
Get Full Access
HATalk Subscribers – sign in below to view the instructions for this project.
Not a Subscriber yet? Sign up to begin your free trial and get instant access to all of our projects and e-magazines.
What You Need
- Fused sinamay piece
- Spring steel millinery wire or 21 gauge aircraft modelling wire
- Needle
- Thread
- Bias binding
Project Overview
As well as simple starting and finishing stitches, millinery students need to know how to wire and bind a sinamay edge by hand.
If you want to improve your sinamay sewing skills before working on a project, then create a practice piece. You can do this by ironing two layers of stiffened sinamay together, using the iron’s steam setting to fuse them, and then cutting a curve along one edge. If you are using unstiffened sinamay, then spray the pieces with spray starch before ironing to achieve the same effect.
For wiring a sinamay edge, you will also need a short length of wire to attach to the curve and bias binding to finish the edge.
This tutorial was written by HATalk Founder Ann Morse-Brown and was originally published in her book, Make Fascinators.
Category: Hints and Tips
What You Need
- Fused sinamay piece
- Spring steel millinery wire or 21 gauge aircraft modelling wire
- Needle
- Thread
- Bias binding
Get Full Access
HATalk Subscribers – sign in below to view the full instructions for this project.
Not a Subscriber yet? Sign up to begin your free trial and get instant access to all of our hat making projects and e-magazines.
