
Hat Making Project
Wrapped Sinamay Headband
Transform a simple headband with sinamay bias binding.
Hat Making Project
Wrapped Sinamay Headband
Transform a simple headband with sinamay bias binding.
Projects / Wrapped Sinamay Headband
Project Overview
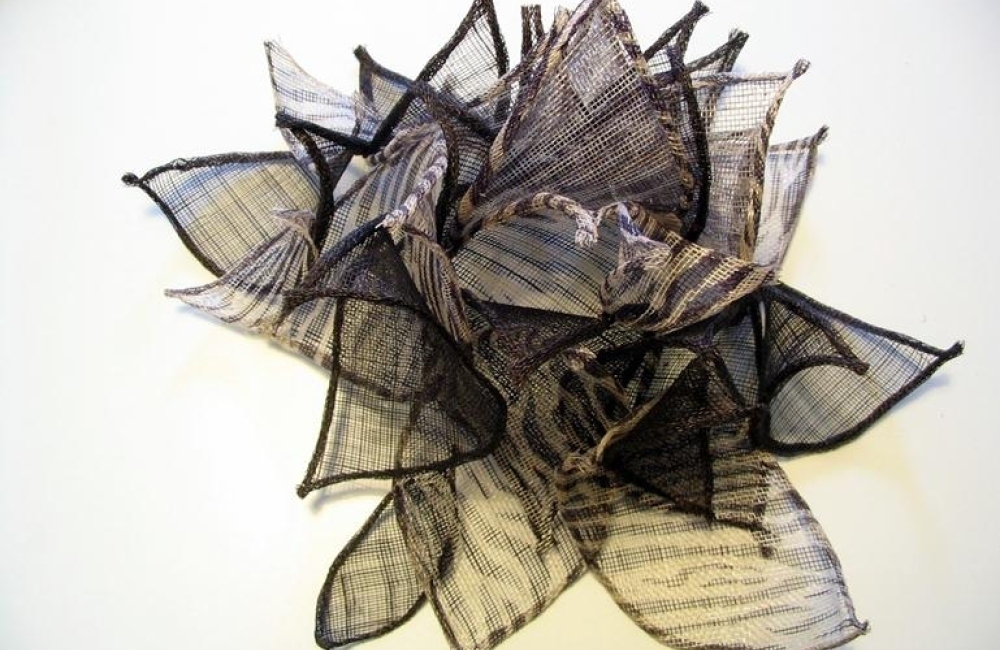
There is so much you can do with a simple bias strip of sinamay! Also known as bias binding, bias strips are commonly used for finishing off brim edges and making millinery trimmings. In this tutorial, Elena Shvab shows us yet another application for these versatile lengths of folded sinamay.
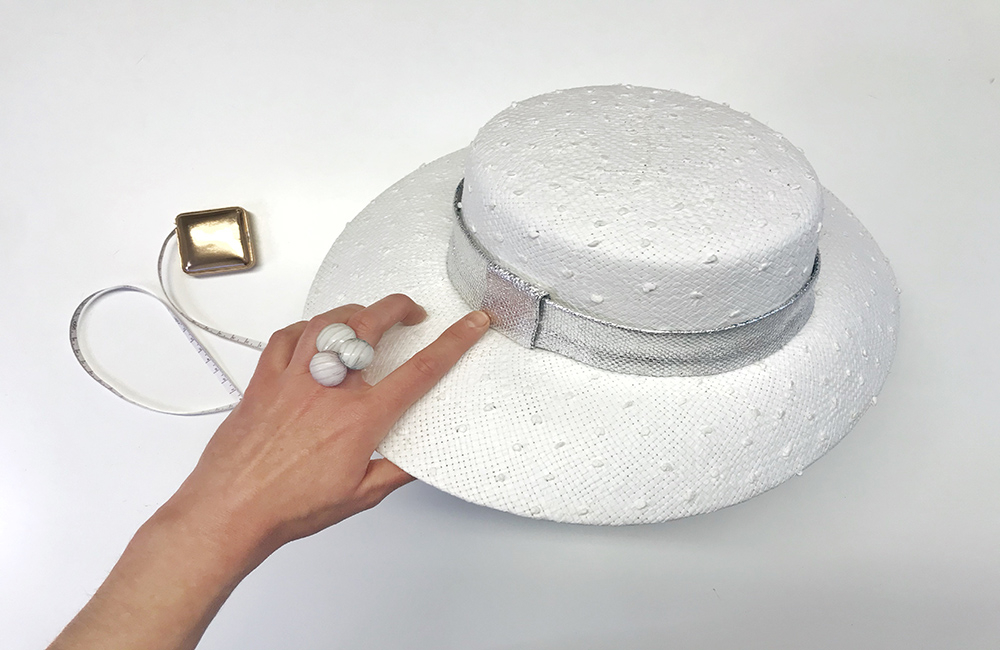
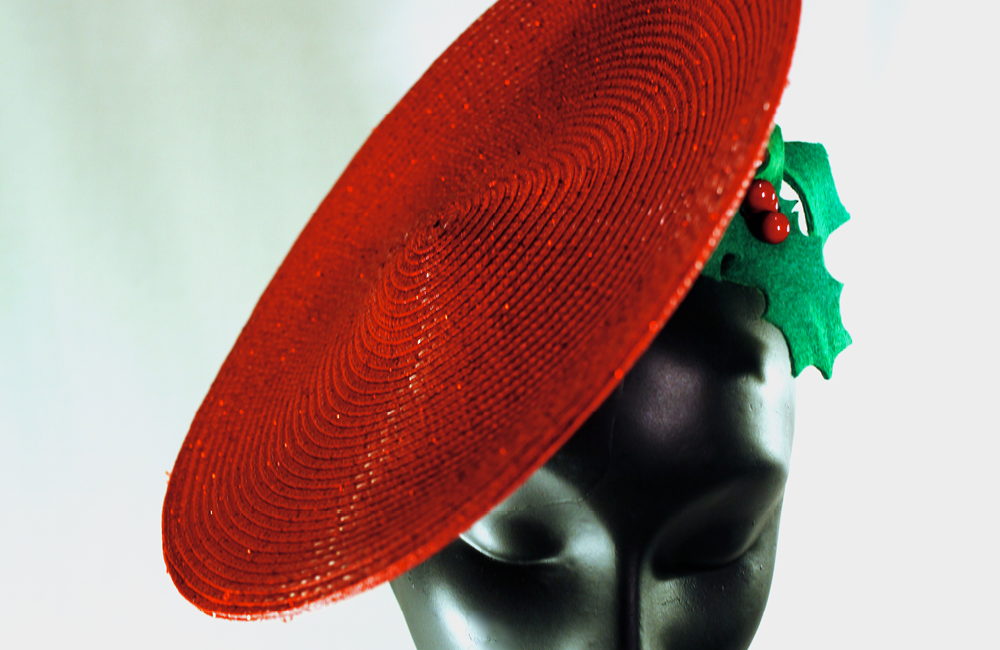
A wrapped sinamay headband is an everyday headband transformed into something much more sophisticated. Once you’ve added a decoration, you’ve got a finished fascinator ready to go.
These headbands also work really well as a base for sinamay saucers and freeform headpieces. Many clients prefer headbands for these types of designs because they are easy to wear and stay securely in place. Plus, if you make the bias strips out of the same sinamay you used for the hat, you’ll have a perfect match.
Elena has also created a helpful video overview of this technique which you can watch below.
Category: Fascinators, Hints and Tips

Get Full Access
HATalk Subscribers – sign in below to view the instructions for this project.
Not a Subscriber yet? Sign up to begin your free trial and get instant access to all of our projects and e-magazines.
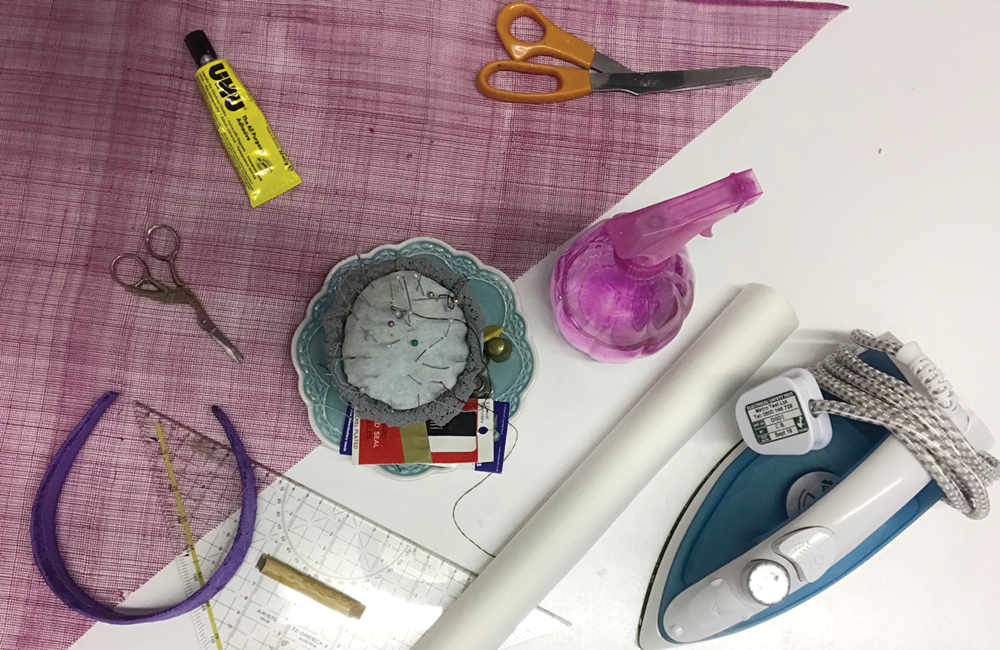
What You Need
- Headband
- Sinamay (The amount you need will depend on the width and size of the headband that you are covering).
- Fabric glue (UHU recommended)
- Water spray bottle
- Iron
- Baking (parchment) paper
- Ruler
- Chalk/pencil
- Scissors
- Needle
- Matching thread
- Nail polish remover (optional)
Project Overview
There is so much you can do with a simple bias strip of sinamay! Also known as bias binding, bias strips are commonly used for finishing off brim edges and making millinery trimmings. In this tutorial, Elena Shvab shows us yet another application for these versatile lengths of folded sinamay.
A wrapped sinamay headband is an everyday headband transformed into something much more sophisticated. Once you’ve added a decoration, you’ve got a finished fascinator ready to go.
These headbands also work really well as a base for sinamay saucers and freeform headpieces. Many clients prefer headbands for these types of designs because they are easy to wear and stay securely in place. Plus, if you make the bias strips out of the same sinamay you used for the hat, you’ll have a perfect match.
Elena has also created a helpful video overview of this technique which you can watch below.
Category: Fascinators, Hints and Tips
What You Need
- Headband
- Sinamay (The amount you need will depend on the width and size of the headband that you are covering).
- Fabric glue (UHU recommended)
- Water spray bottle
- Iron
- Baking (parchment) paper
- Ruler
- Chalk/pencil
- Scissors
- Needle
- Matching thread
- Nail polish remover (optional)
Get Full Access
HATalk Subscribers – sign in below to view the full instructions for this project.
Not a Subscriber yet? Sign up to begin your free trial and get instant access to all of our hat making projects and e-magazines.


")