Hat Making Project
Blocked Felt Hat
Block a lightweight wool felt hat using the blocking-in-one method.

Hat Making Project
Blocked Felt Hat
Block a lightweight wool felt hat using the blocking-in-one method.
Projects / Blocked Felt Hat
Project Overview
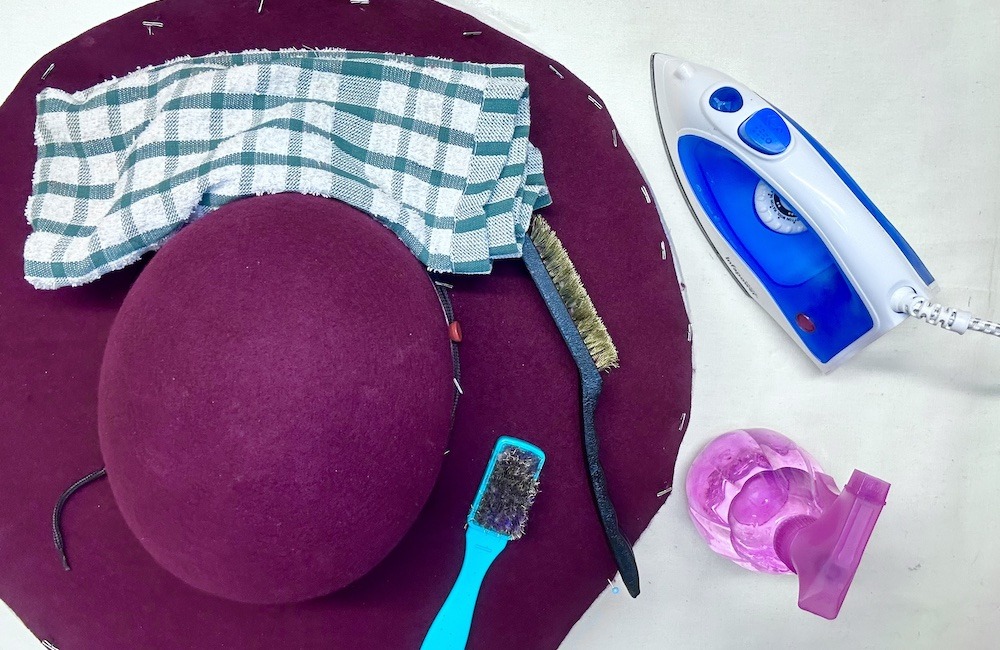
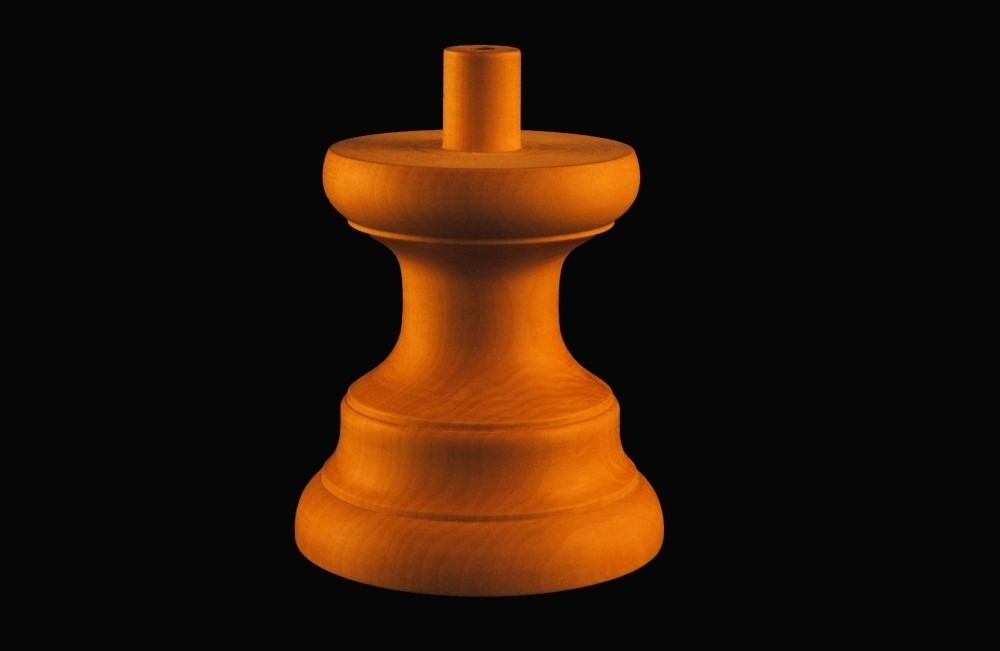
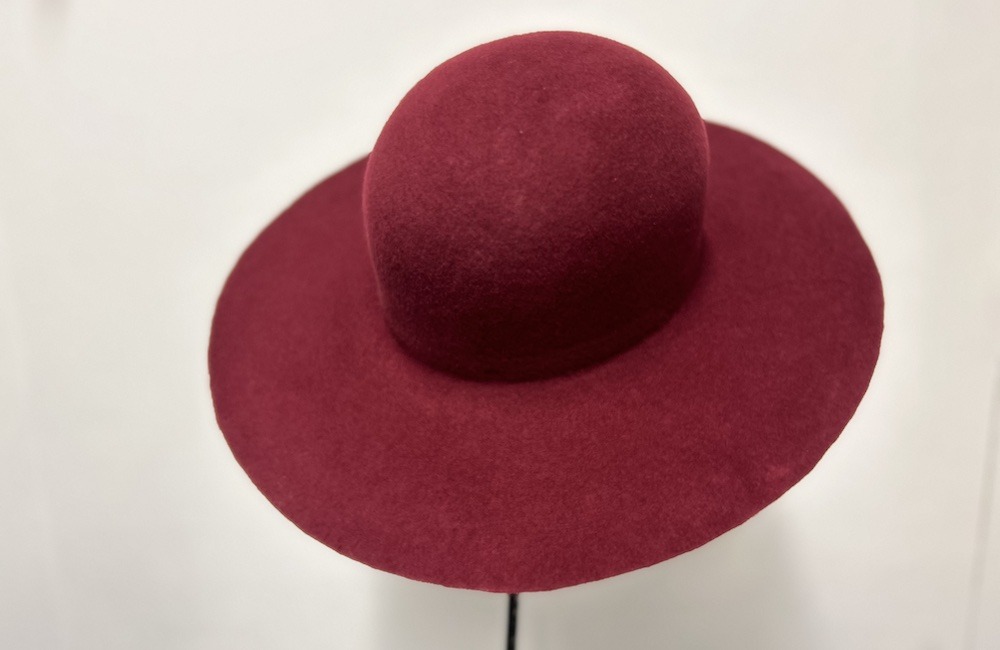
In this project, milliner Elena Shvab explains how to block a wool felt hat using the blocking-in-one method. To complete this project, you will need a crown block and a solid brim block (without a hole in the middle).
Elena demonstrates how to make a flat brimmed felt hat in this tutorial but her instructions are easy to adapt. You can mix and match hat blocks of all shapes and sizes to create unique styles.
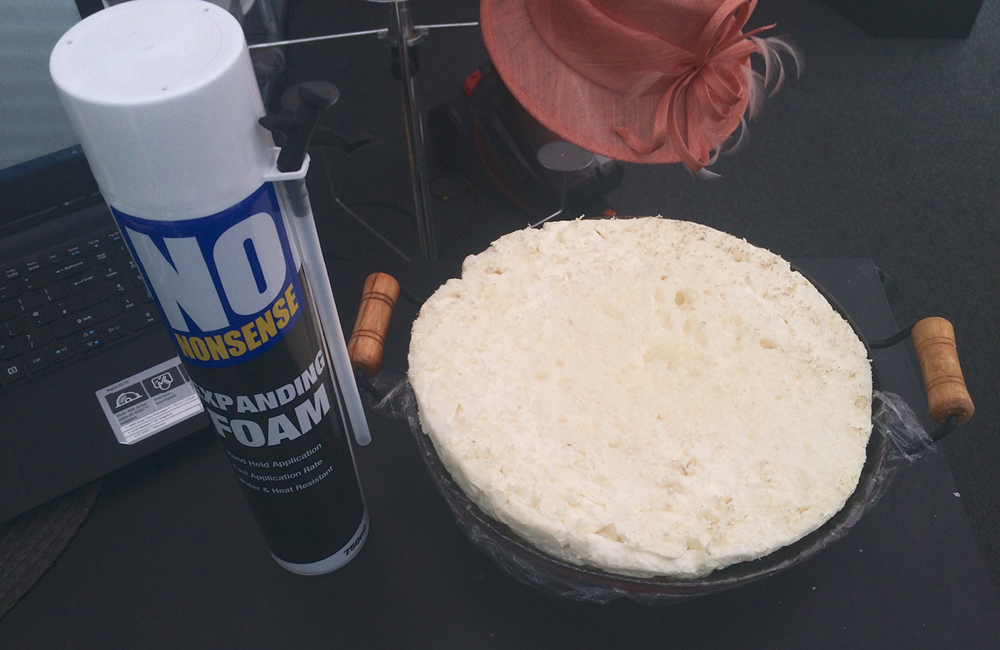
Since you will be using a solid brim block, you won’t need to worry about matching up the head fitting circumference of the brim and the crown. You can use classic blocks made of wood or even find block substitutes made out of other materials. To block the brim of her hat, for example, Elena used a flat polystyrene (styrofoam) cake dummy that she bought online.
This blocking technique will work best with lightweight millinery felts (e.g. 120gr) rather than the heavier dress or Western weight varieties used in hatting.
Category: Hats
Get Full Access
HATalk Subscribers – sign in below to view the instructions for this project.
Not a Subscriber yet? Sign up to begin your free trial and get instant access to all of our projects and e-magazines.
What You Need
- Wool felt capeline
- Crown block
- Solid brim block
- Cling film
- Packaging tape
- Basin for stiffening
- Water based stiffener
- Water spray bottle
- Gloves
- Steam iron/steamer
- Petersham ribbon (or other flat ribbon)
- Sharp scissors
- Blocking cord or shoe laces
- Pins (Hint: use short blocking pins for wooden hat blocks and long thin T-pins for polystyrene blocks)
- Firm brush
- Cotton cloth
- Ruler
- Chalk pencil
- Sandpaper (80 grit)
Project Overview
In this project, milliner Elena Shvab explains how to block a wool felt hat using the blocking-in-one method. To complete this project, you will need a crown block and a solid brim block (without a hole in the middle).
Elena demonstrates how to make a flat brimmed felt hat in this tutorial but her instructions are easy to adapt. You can mix and match hat blocks of all shapes and sizes to create unique styles.
Since you will be using a solid brim block, you won’t need to worry about matching up the head fitting circumference of the brim and the crown. You can use classic blocks made of wood or even find block substitutes made out of other materials. To block the brim of her hat, for example, Elena used a flat polystyrene (styrofoam) cake dummy that she bought online.
This blocking technique will work best with lightweight millinery felts (e.g. 120gr) rather than the heavier dress or Western weight varieties used in hatting.
Category: Hats
What You Need
- Wool felt capeline
- Crown block
- Solid brim block
- Cling film
- Packaging tape
- Basin for stiffening
- Water based stiffener
- Water spray bottle
- Gloves
- Steam iron/steamer
- Petersham ribbon (or other flat ribbon)
- Sharp scissors
- Blocking cord or shoe laces
- Pins (Hint: use short blocking pins for wooden hat blocks and long thin T-pins for polystyrene blocks)
- Firm brush
- Cotton cloth
- Ruler
- Chalk pencil
- Sandpaper (80 grit)
Get Full Access
HATalk Subscribers – sign in below to view the full instructions for this project.
Not a Subscriber yet? Sign up to begin your free trial and get instant access to all of our hat making projects and e-magazines.
