Hat Making Project
Custom Sinamay Hat Crown
Learn to block and cut a custom sinamay crown for your hats and fascinators.

Hat Making Project
Custom Sinamay Hat Crown
Learn to block and cut a custom sinamay crown for your hats and fascinators.
Projects / Custom Sinamay Hat Crown
Project Overview
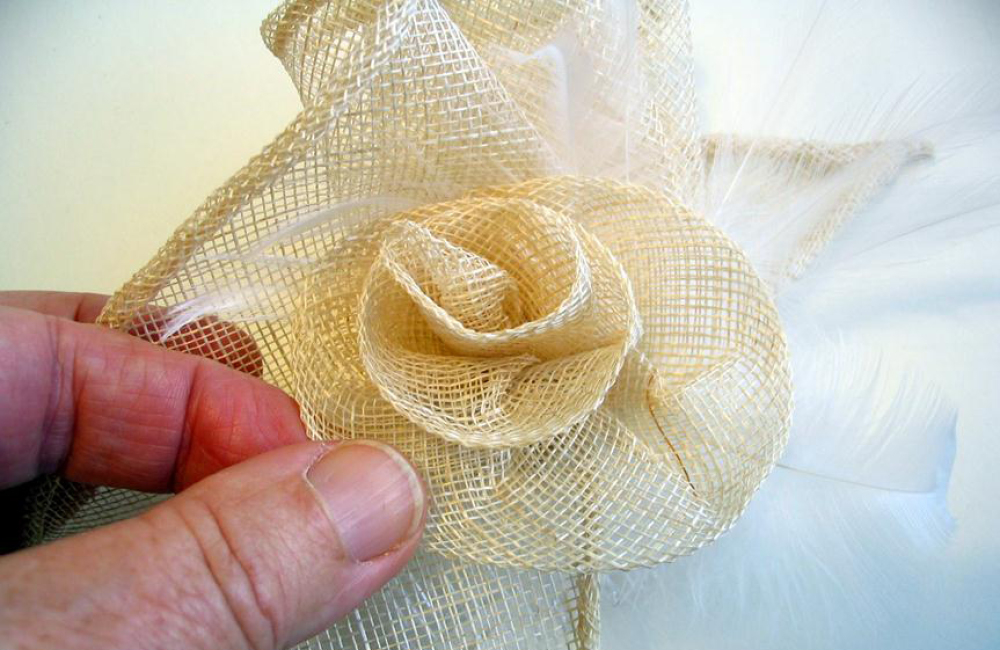
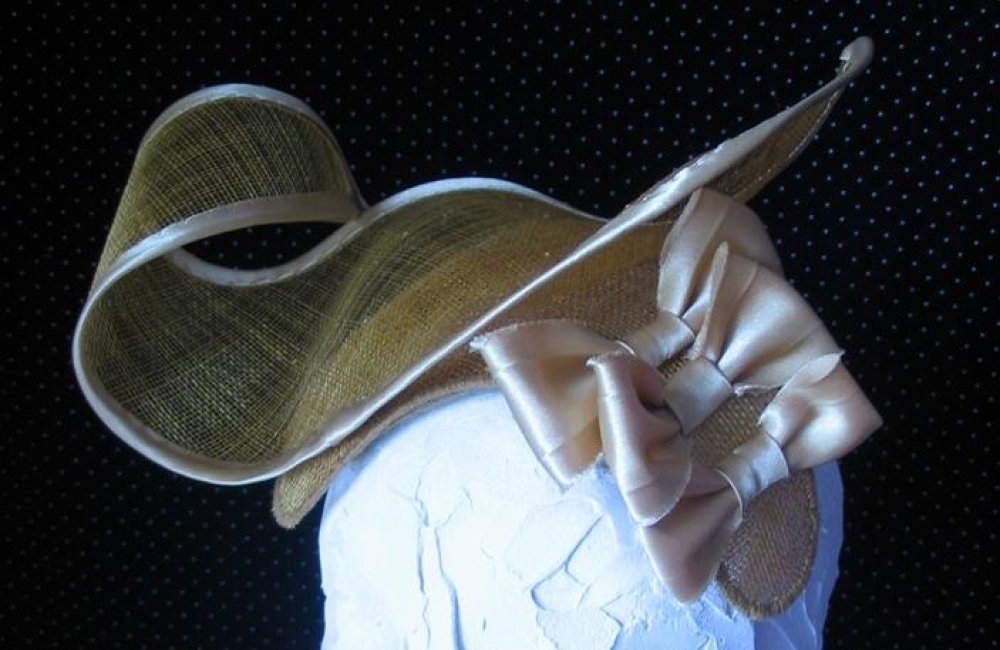
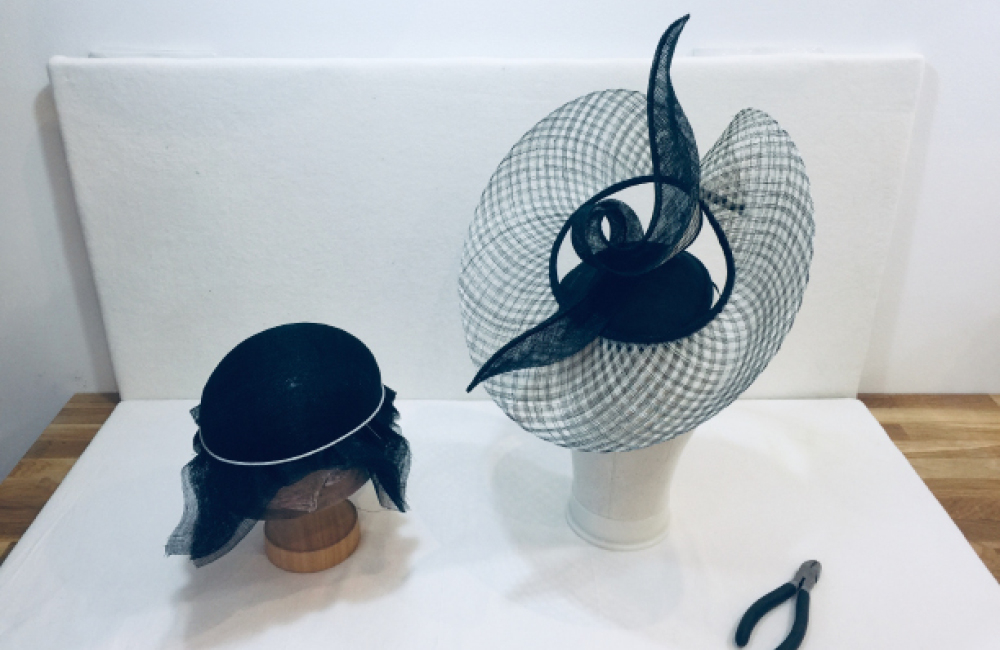
Learning this sinamay hat crown technique will allow you to create custom bases for your fascinators and hats. This process often works best if you create your hat brim first and then specially make the crown or base to complement it.
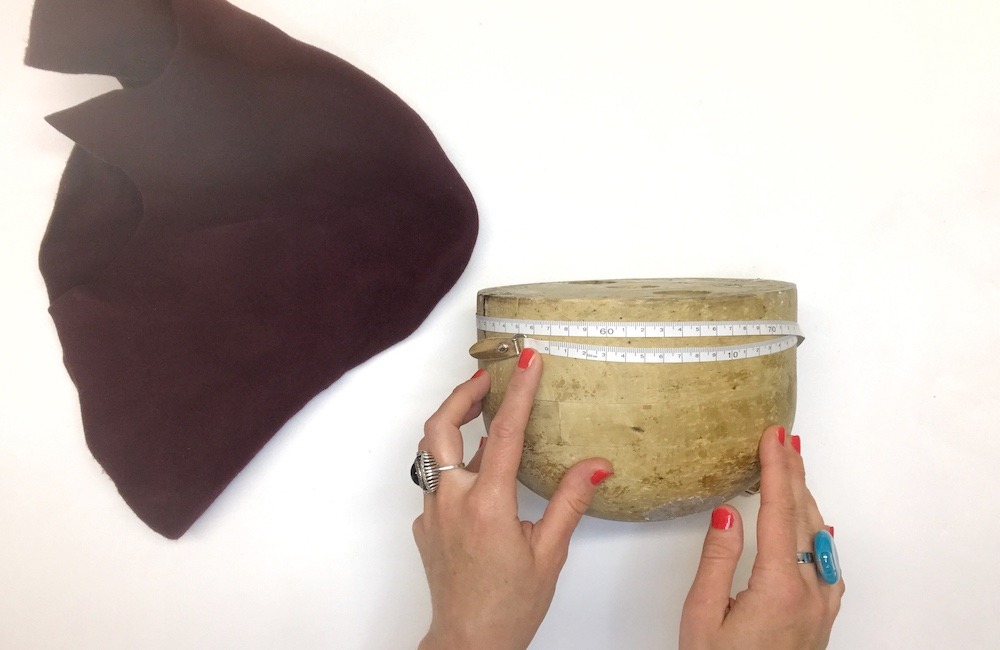
Before you begin customising, you will need to block a standard sinamay crown shape in the normal way. (Click HERE if you need tips on basic hat blocking.) I would normally use between 3 – 5 layers of sinamay. If the adornment of your hat is heavy, the base will need to support it.
It can take time to decide on the shape of your base as you will need to consider how the finished hat will look. You also need to consider where the hat will sit on the head. Will it be sitting on the right side (as is the custom in millinery) or would your client prefer the left? Some clients do have a preference. Think about which part of the crown you will use for your design. If it sits in the middle, then use that part of the crown you have blocked.
This sinamay crown tutorial is by Tracy Chaplin, a milliner who works in Britain and France.
Category: Fascinators, Hats, Hints and Tips
Get Full Access
HATalk Subscribers – sign in below to view the instructions for this project.
Not a Subscriber yet? Sign up to begin your free trial and get instant access to all of our projects and e-magazines.
What You Need
- Crown Block
- Sinamay
- Millinery Wire
- Blocking or Bridal Pins
- Tailor’s Chalk
- Scissors
- Needle and Thread
- Sinamay Bias Binding
Project Overview
Learning this sinamay hat crown technique will allow you to create custom bases for your fascinators and hats. This process often works best if you create your hat brim first and then specially make the crown or base to complement it.
Before you begin customising, you will need to block a standard sinamay crown shape in the normal way. (Click HERE if you need tips on basic hat blocking.) I would normally use between 3 – 5 layers of sinamay. If the adornment of your hat is heavy, the base will need to support it.
It can take time to decide on the shape of your base as you will need to consider how the finished hat will look. You also need to consider where the hat will sit on the head. Will it be sitting on the right side (as is the custom in millinery) or would your client prefer the left? Some clients do have a preference. Think about which part of the crown you will use for your design. If it sits in the middle, then use that part of the crown you have blocked.
This sinamay crown tutorial is by Tracy Chaplin, a milliner who works in Britain and France.
Category: Fascinators, Hats, Hints and Tips
What You Need
- Crown Block
- Sinamay
- Millinery Wire
- Blocking or Bridal Pins
- Tailor’s Chalk
- Scissors
- Needle and Thread
- Sinamay Bias Binding
Get Full Access
HATalk Subscribers – sign in below to view the full instructions for this project.
Not a Subscriber yet? Sign up to begin your free trial and get instant access to all of our hat making projects and e-magazines.

