Hat Making Project
Felt Beret
Create a classic beret shape with a wool felt cone and a hat block.

Hat Making Project
Felt Beret
Create a classic beret shape with a wool felt cone and a hat block.
Projects / Felt Beret
Project Overview
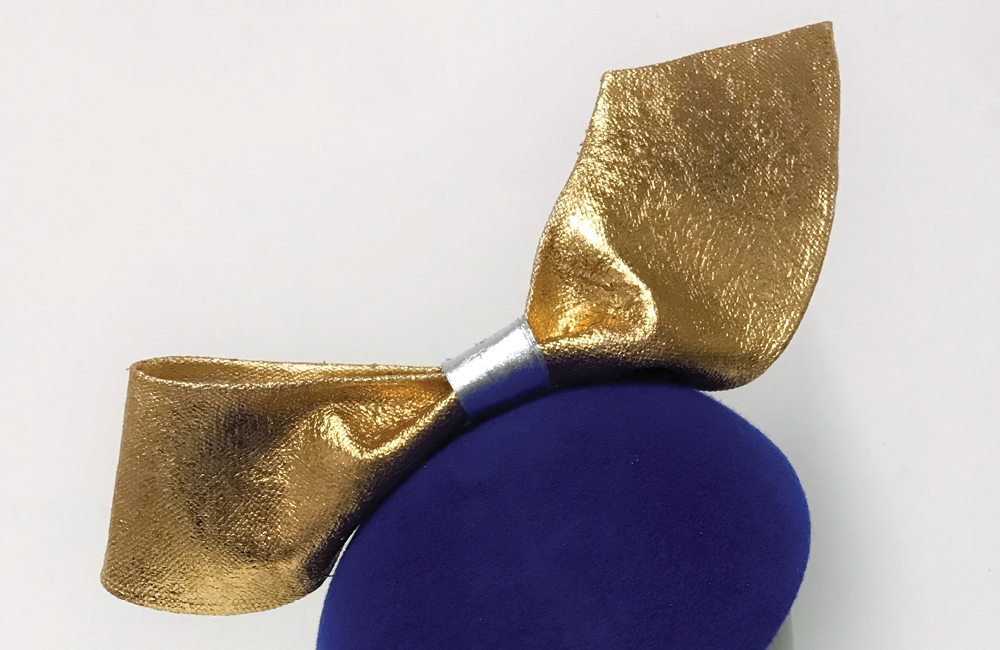
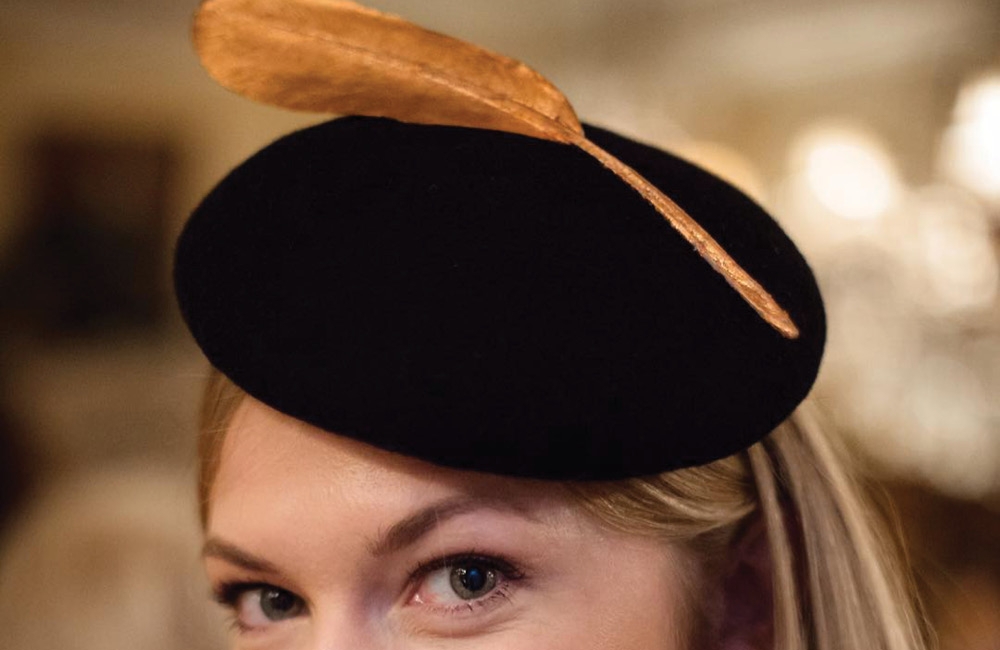
Some hats are so timeless that they will never go out of style. In this tutorial, expert milliner Elena Shvab explains how to block a classic beret from a wool felt cone. Elena’s Barny Beret from her A/W 19-20 Tenera Collection, which has been decorated with a metallic feather, is pictured above.
Variations on these flat-crowned caps have been worn for centuries, with the particular shapes that we know and love originating from the Basque region of the Pyrenees, on the border of France and Spain.
If you are new to blocking, the beret is the perfect shape to start with since you don’t have to worry about forming any peaks and valleys or joining a crown to a brim. And for those experienced blockers out there, you might be interested to see how Elena uses tubular crinoline to reinforce the structure of this hat.
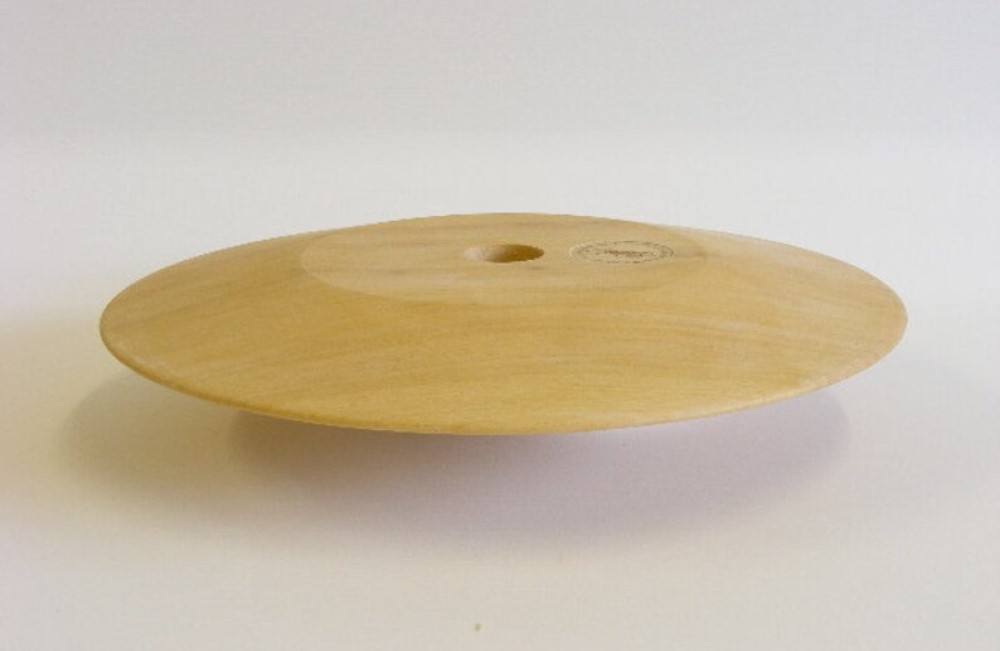
You will need a beret or button block to make this hat. You could use a traditional shape like the Guy Morse-Brown CB50 or, if you are ready for more advanced blocking, try a perching or asymmetrical beret block.
Category: Hats
Get Full Access
HATalk Subscribers – sign in below to view the instructions for this project.
Not a Subscriber yet? Sign up to begin your free trial and get instant access to all of our projects and e-magazines.
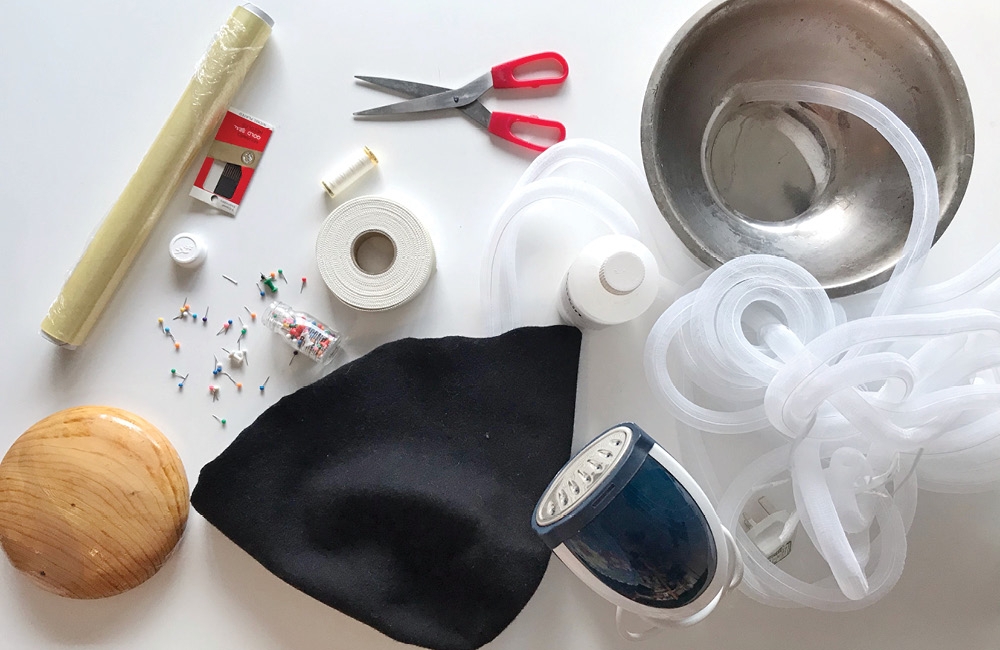
What You Need
- Wool felt cone
- Beret block
- Water-based stiffener
- Rubber/silicone gloves
- Blocking pins
- Dressmaker’s pins
- Bowl/basin for stiffening
- Steamer or kitchen kettle
- Tubular crinoline/horsehair (8mm-10mm wide)
- Scissors
- Needle and matching thread
- Petersham ribbon
- Iron
- Ironing board or a cloth
- Baking (parchment) paper
- Cling film (Saran wrap)
Project Overview
Some hats are so timeless that they will never go out of style. In this tutorial, expert milliner Elena Shvab explains how to block a classic beret from a wool felt cone. Elena’s Barny Beret from her A/W 19-20 Tenera Collection, which has been decorated with a metallic feather, is pictured above.
Variations on these flat-crowned caps have been worn for centuries, with the particular shapes that we know and love originating from the Basque region of the Pyrenees, on the border of France and Spain.
If you are new to blocking, the beret is the perfect shape to start with since you don’t have to worry about forming any peaks and valleys or joining a crown to a brim. And for those experienced blockers out there, you might be interested to see how Elena uses tubular crinoline to reinforce the structure of this hat.
You will need a beret or button block to make this hat. You could use a traditional shape like the Guy Morse-Brown CB50 or, if you are ready for more advanced blocking, try a perching or asymmetrical beret block.
Category: Hats
What You Need
- Wool felt cone
- Beret block
- Water-based stiffener
- Rubber/silicone gloves
- Blocking pins
- Dressmaker’s pins
- Bowl/basin for stiffening
- Steamer or kitchen kettle
- Tubular crinoline/horsehair (8mm-10mm wide)
- Scissors
- Needle and matching thread
- Petersham ribbon
- Iron
- Ironing board or a cloth
- Baking (parchment) paper
- Cling film (Saran wrap)
Get Full Access
HATalk Subscribers – sign in below to view the full instructions for this project.
Not a Subscriber yet? Sign up to begin your free trial and get instant access to all of our hat making projects and e-magazines.
