Hat Making Project
Twisted Base Fascinator
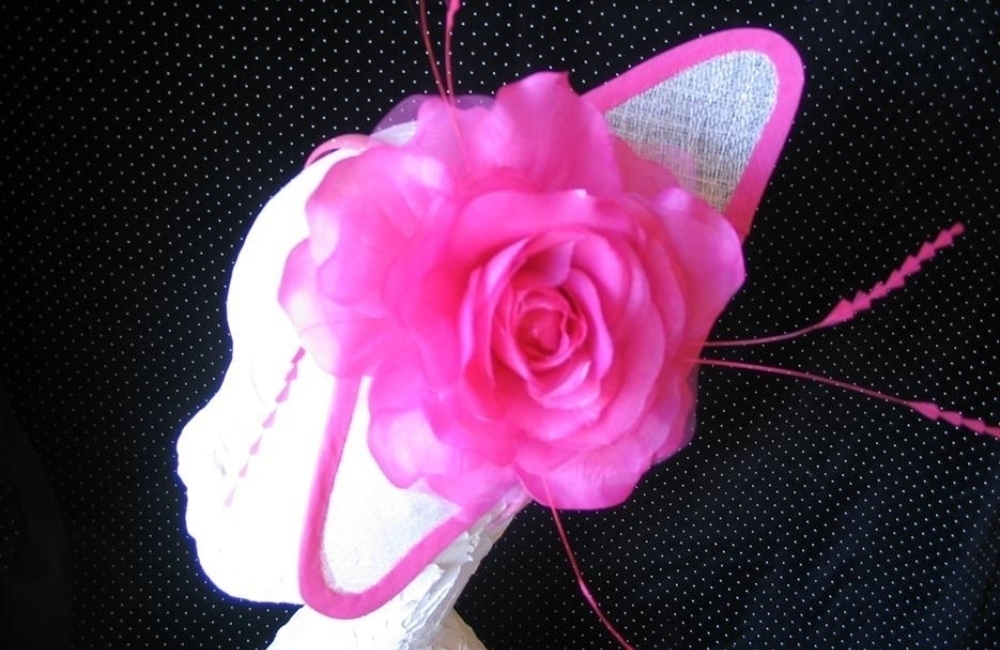
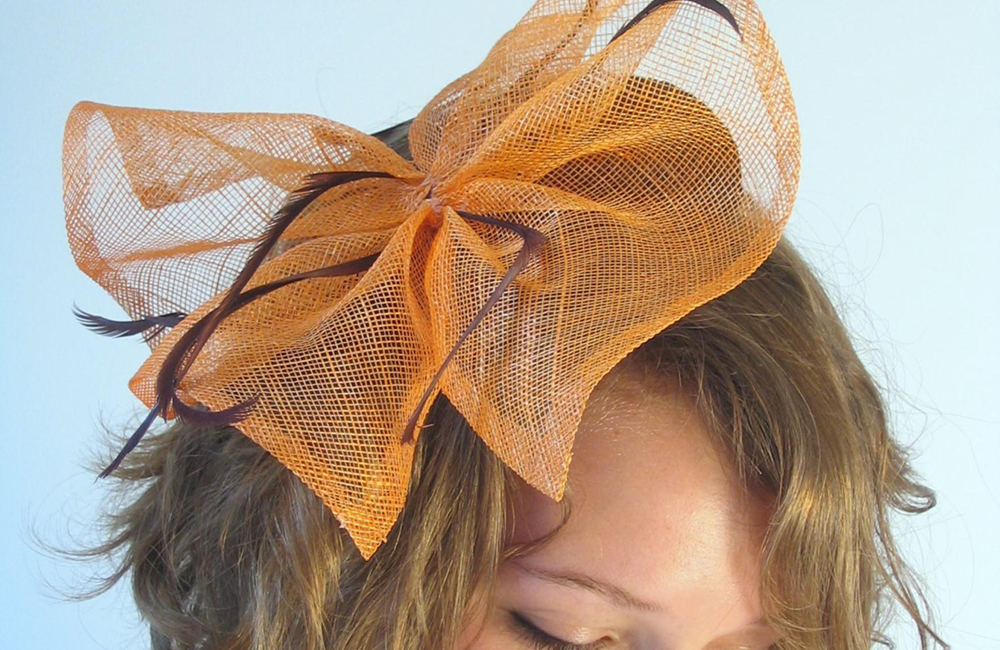
Make an oval sinamay fascinator base and trim it.

Hat Making Project
Twisted Base Fascinator
Make an oval sinamay fascinator base and trim it.
Projects / Twisted Base Fascinator
Project Overview
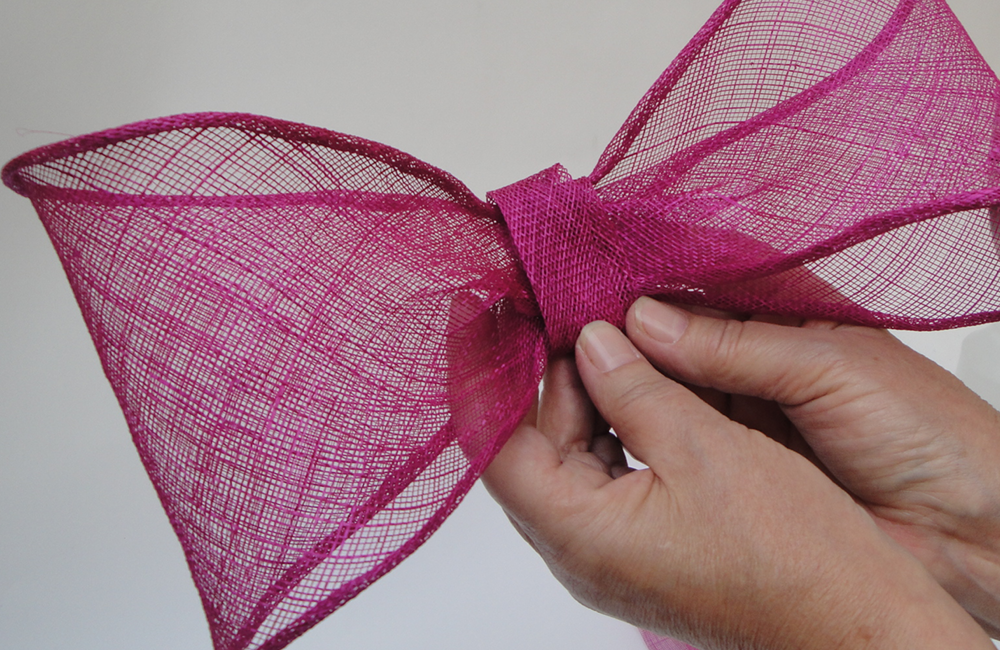
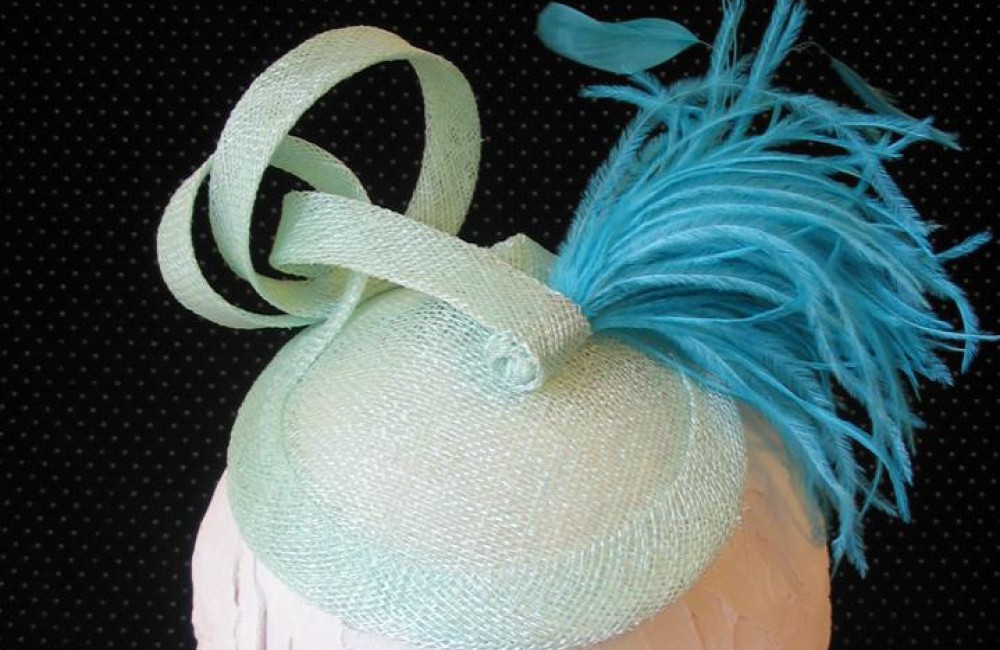
The oval base of this fascinator is cut, wired and twisted to fit the shape of the wearer’s head. It is then embellished with feathers and bias binding made from matching sinamay.
This is lovely little twisted base fascinator is not expensive to make and requires no specialist hat making tools or equipment.
It is a good project to try if you are new to millinery as it will give you a chance to practice some basic skills like wiring a sinamay edge and making bias binding.
This tutorial was written by HATalk Founder Ann Morse-Brown and was originally published in her book, Make Fascinators.
Category: Fascinators, Trimmings
Get Full Access
HATalk Subscribers – sign in below to view the instructions for this project.
Not a Subscriber yet? Sign up to begin your free trial and get instant access to all of our projects and e-magazines.
What You Need
- 1 x 18 inch (46cm) square of sinamay or some leftover pieces of sinamay
- 1 yard (1 metre) spring steel millinery wire or 21 gauge modelling wire
- 1 feather mount to match or contrast with sinamay
- Thread to match sinamay colour(s)
- Darning needle
- 1 yard (1 metre) narrow ribbon to match sinamay colour
- Comb
- Paper or thin card and pencil for pattern making
- Long ruler
- Cutting out scissors
- Small, sharp pointed scissors
- Soft (6B) pencil for marking fabric
- Glass-headed pins
- Sewing machine which can sew zigzag stitches
- Iron with steam setting and ironing board
Project Overview
The oval base of this fascinator is cut, wired and twisted to fit the shape of the wearer’s head. It is then embellished with feathers and bias binding made from matching sinamay.
This is lovely little twisted base fascinator is not expensive to make and requires no specialist hat making tools or equipment.
It is a good project to try if you are new to millinery as it will give you a chance to practice some basic skills like wiring a sinamay edge and making bias binding.
This tutorial was written by HATalk Founder Ann Morse-Brown and was originally published in her book, Make Fascinators.
Category: Fascinators, Trimmings
What You Need
- 1 x 18 inch (46cm) square of sinamay or some leftover pieces of sinamay
- 1 yard (1 metre) spring steel millinery wire or 21 gauge modelling wire
- 1 feather mount to match or contrast with sinamay
- Thread to match sinamay colour(s)
- Darning needle
- 1 yard (1 metre) narrow ribbon to match sinamay colour
- Comb
- Paper or thin card and pencil for pattern making
- Long ruler
- Cutting out scissors
- Small, sharp pointed scissors
- Soft (6B) pencil for marking fabric
- Glass-headed pins
- Sewing machine which can sew zigzag stitches
- Iron with steam setting and ironing board
Get Full Access
HATalk Subscribers – sign in below to view the full instructions for this project.
Not a Subscriber yet? Sign up to begin your free trial and get instant access to all of our hat making projects and e-magazines.
