Hat Making Project
Leather Rose
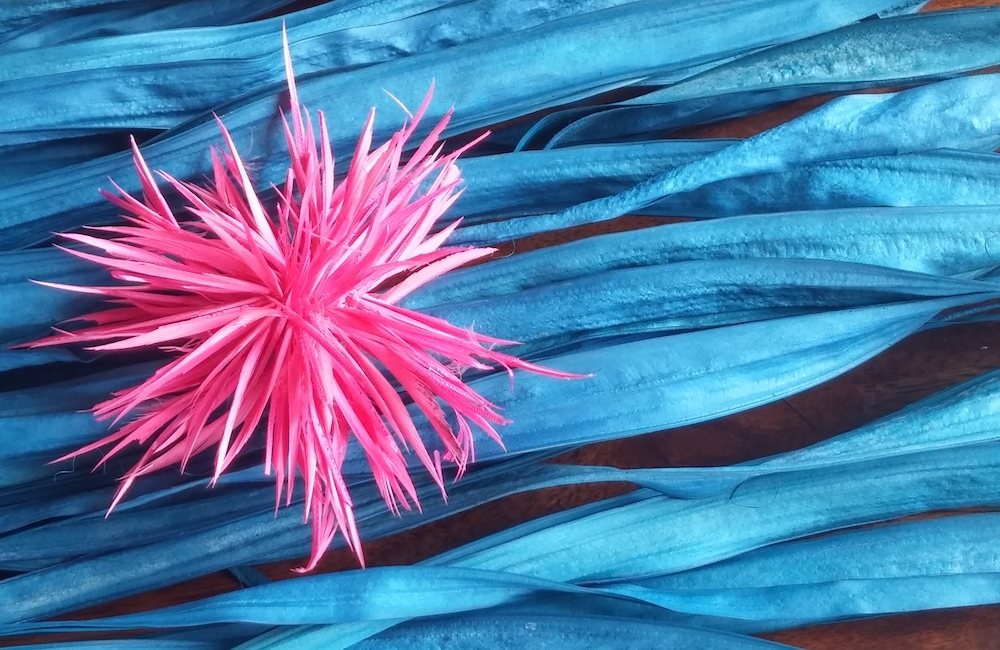
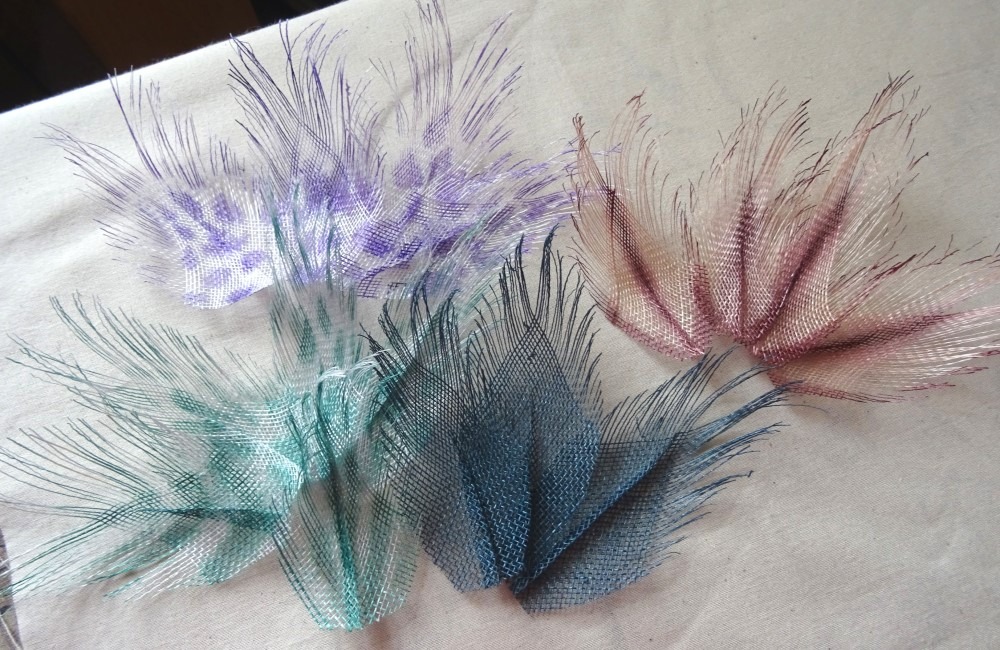
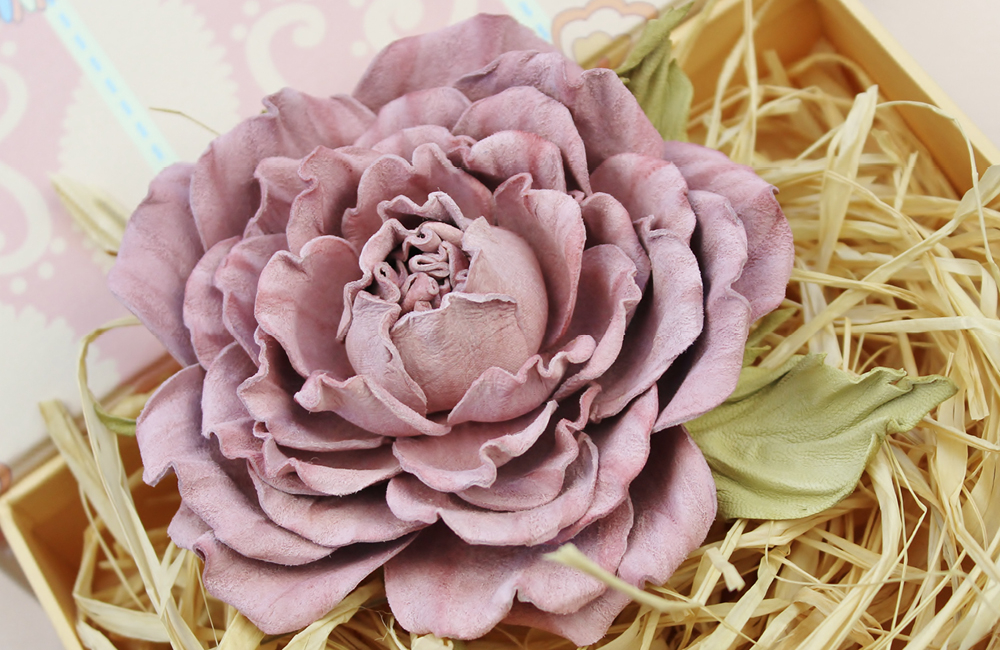
Petals and leaves shaped with heated flower making tools give this leather rose a beautifully realistic look.

Hat Making Project
Leather Rose
Petals and leaves shaped with heated flower making tools give this leather rose a beautifully realistic look.
Projects / Leather Rose
Project Overview
This step-by-step leather rose tutorial was written by expert flower maker Svetlana Faulkner of PresentPerfect Creations in England.
Leather has become a really popular choice for millinery trimmings and blocked hats in recent years. It is versatile, durable and easy to source.
By shaping petals and leaves with metal flower making tools, you can create beautifully realistic leather roses yourself.
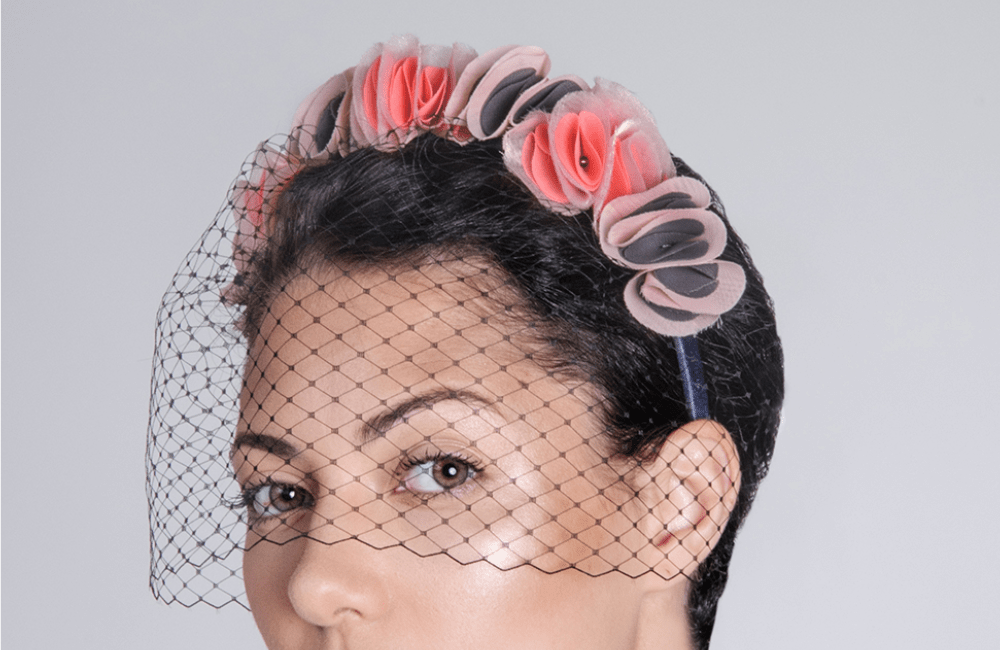
The tutorial includes instructions for securing the rose to a brooch bar so that it can be added to a hat or worn as an accessory in its own right. Of course, it could also be attached directly onto a hair band to make a simple but effective leather fascinator.
Category: Fascinators, Flower Making, Trimmings
Get Full Access
HATalk Subscribers – sign in below to view the instructions for this project.
Not a Subscriber yet? Sign up to begin your free trial and get instant access to all of our projects and e-magazines.
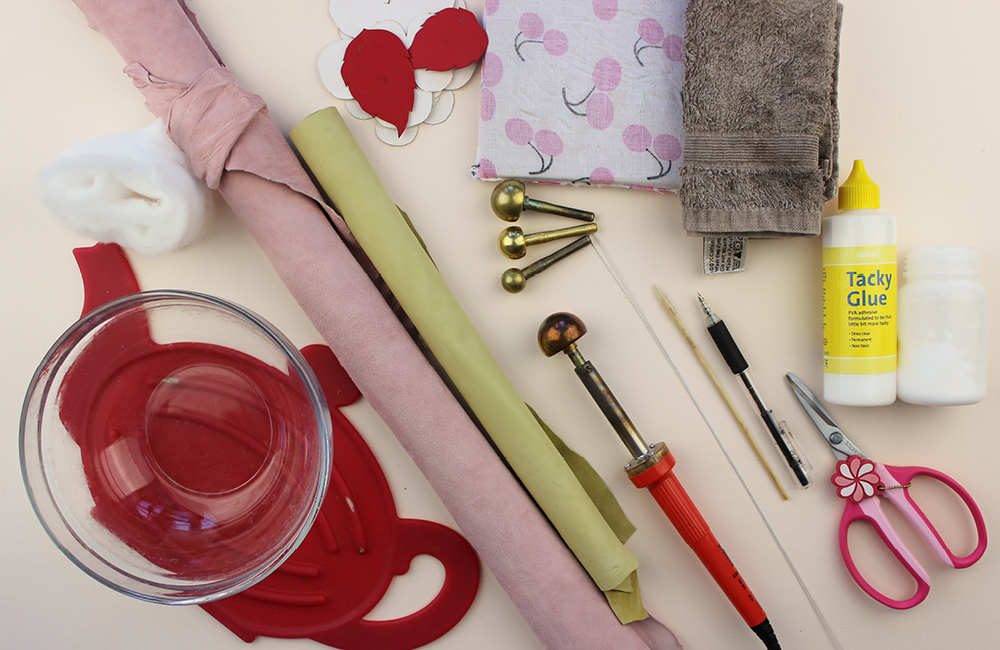
What You Need
- Thin leather (a thickness of approximately 0.6-0.7mm works best) in two colours. Alternatively, you can use a single colour for a more stylised rose.
- PVA glue in two thicknesses – one thick and tacky for gluing parts of flower together, the other diluted for stiffening the leather.
- 2-litre bowl for preparing the stiffening solution.
- Rose templates – click HERE to download and then trace onto card to make cutting guides.
- Scissors or wire cutters
- Cotton wool
- Thin bamboo stick for applying glue
- Tweezers
- Awl (optional)
- Wire (24 or 26 gauge will work best)
- Flower iron with round tips
- Semi-soft rubber pad for flower pressing
- Moistened cloth
- Heatproof mat/stand for flower iron
- Brooch bar (optional)
- Pen
Project Overview
This step-by-step leather rose tutorial was written by expert flower maker Svetlana Faulkner of PresentPerfect Creations in England.
Leather has become a really popular choice for millinery trimmings and blocked hats in recent years. It is versatile, durable and easy to source.
By shaping petals and leaves with metal flower making tools, you can create beautifully realistic leather roses yourself.
The tutorial includes instructions for securing the rose to a brooch bar so that it can be added to a hat or worn as an accessory in its own right. Of course, it could also be attached directly onto a hair band to make a simple but effective leather fascinator.
Category: Fascinators, Flower Making, Trimmings
What You Need
- Thin leather (a thickness of approximately 0.6-0.7mm works best) in two colours. Alternatively, you can use a single colour for a more stylised rose.
- PVA glue in two thicknesses – one thick and tacky for gluing parts of flower together, the other diluted for stiffening the leather.
- 2-litre bowl for preparing the stiffening solution.
- Rose templates – click HERE to download and then trace onto card to make cutting guides.
- Scissors or wire cutters
- Cotton wool
- Thin bamboo stick for applying glue
- Tweezers
- Awl (optional)
- Wire (24 or 26 gauge will work best)
- Flower iron with round tips
- Semi-soft rubber pad for flower pressing
- Moistened cloth
- Heatproof mat/stand for flower iron
- Brooch bar (optional)
- Pen
Get Full Access
HATalk Subscribers – sign in below to view the full instructions for this project.
Not a Subscriber yet? Sign up to begin your free trial and get instant access to all of our hat making projects and e-magazines.
