Hat Making Project
Making Bias Binding
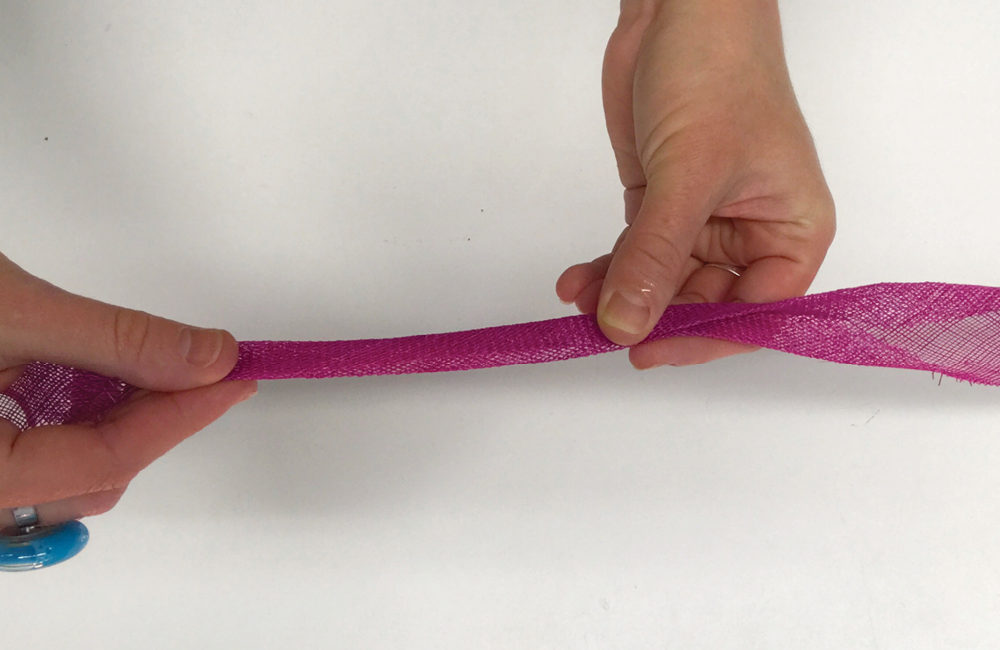
Create your own bias binding out of sinamay strips so that you can find the perfect match for any hat that you make.

Hat Making Project
Making Bias Binding
Create your own bias binding out of sinamay strips so that you can find the perfect match for any hat that you make.
Projects / Making Bias Binding
Project Overview
Bias binding, also known as bias tape, is a narrow strip of folded fabric that has been cut on the bias. Fabrics cut on the bias stretch and drape better than those which are cut on the grain, making them ideal for hat making.
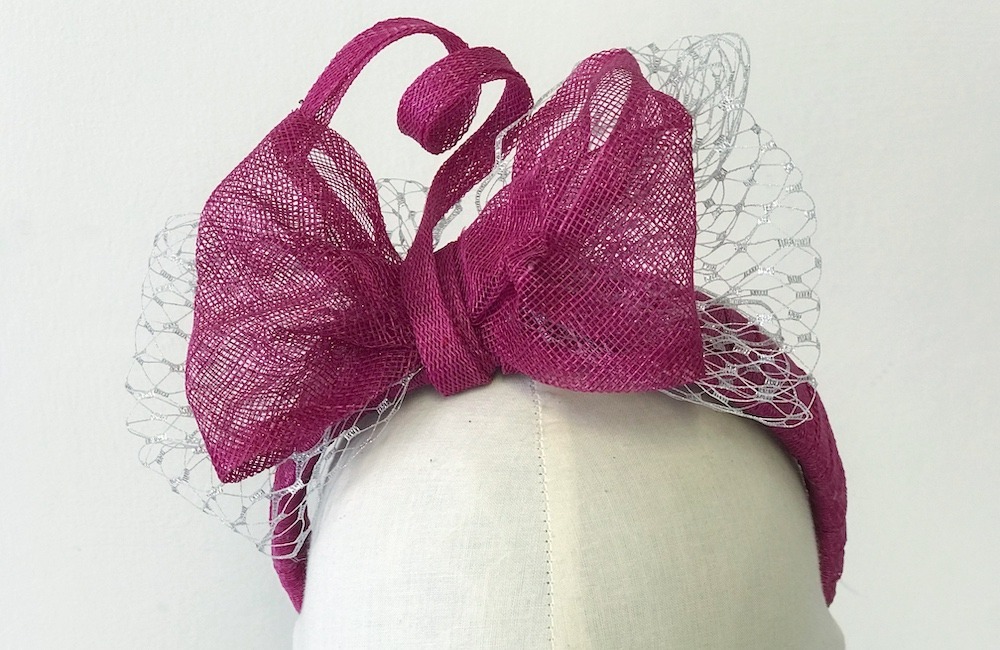
One of the most common uses of bias binding in millinery is to finish off the edge of a hat, a tidy way to hide unseemly raw or wired edges. As well as giving your sinamay hat brims a professional finish, making bias binding to use for bows and other hat and fascinator trimmings is also a great idea.
Bias tape can be made out of practically any fabric and can be found at fabric and craft stores in various sizes. Bias tape makers are available for making bias tape out of conventional sewing fabrics, like cotton or satin, at home. In millinery, sinamay bias binding is used a lot. While it can be purchased by the meter from online millinery suppliers in a variety of colours, it’s also handy to understand the process of making bias binding on your own. That way, you can find the perfect match for any sinamay hat or fascinator that you make.
Making bias binding is not difficult – all you need is some sinamay, a ruler, a pencil and an iron. Once you understand the principle, you can get creative. For instance, you could try using wider strips or combining different colours.
Once you’ve learned how to make your own bias binding, you will find all kinds of interesting applications for it. For instance, you could use it to make a Wrapped Sinamay Headband, a Curled Hat Decoration, Sinamay Loops, Sinamay Spirals and more!
This sinamay bias binding tutorial was written by Elena Shvab. As a bonus, Elena has also made a helpful video of this process that you can watch below.
Category: Hints and Tips, Trimmings
Get Full Access
HATalk Subscribers – sign in below to view the instructions for this project.
Not a Subscriber yet? Sign up to begin your free trial and get instant access to all of our projects and e-magazines.
What You Need
- Sinamay
- Water spray bottle
- Iron
- Baking (parchment) paper
- Ruler
- Chalk/pencil
- Scissors
Project Overview
Bias binding, also known as bias tape, is a narrow strip of folded fabric that has been cut on the bias. Fabrics cut on the bias stretch and drape better than those which are cut on the grain, making them ideal for hat making.
One of the most common uses of bias binding in millinery is to finish off the edge of a hat, a tidy way to hide unseemly raw or wired edges. As well as giving your sinamay hat brims a professional finish, making bias binding to use for bows and other hat and fascinator trimmings is also a great idea.
Bias tape can be made out of practically any fabric and can be found at fabric and craft stores in various sizes. Bias tape makers are available for making bias tape out of conventional sewing fabrics, like cotton or satin, at home. In millinery, sinamay bias binding is used a lot. While it can be purchased by the meter from online millinery suppliers in a variety of colours, it’s also handy to understand the process of making bias binding on your own. That way, you can find the perfect match for any sinamay hat or fascinator that you make.
Making bias binding is not difficult – all you need is some sinamay, a ruler, a pencil and an iron. Once you understand the principle, you can get creative. For instance, you could try using wider strips or combining different colours.
Once you’ve learned how to make your own bias binding, you will find all kinds of interesting applications for it. For instance, you could use it to make a Wrapped Sinamay Headband, a Curled Hat Decoration, Sinamay Loops, Sinamay Spirals and more!
This sinamay bias binding tutorial was written by Elena Shvab. As a bonus, Elena has also made a helpful video of this process that you can watch below.
Category: Hints and Tips, Trimmings
What You Need
- Sinamay
- Water spray bottle
- Iron
- Baking (parchment) paper
- Ruler
- Chalk/pencil
- Scissors
Get Full Access
HATalk Subscribers – sign in below to view the full instructions for this project.
Not a Subscriber yet? Sign up to begin your free trial and get instant access to all of our hat making projects and e-magazines.
