Hat Making Project
Metallic Hatband
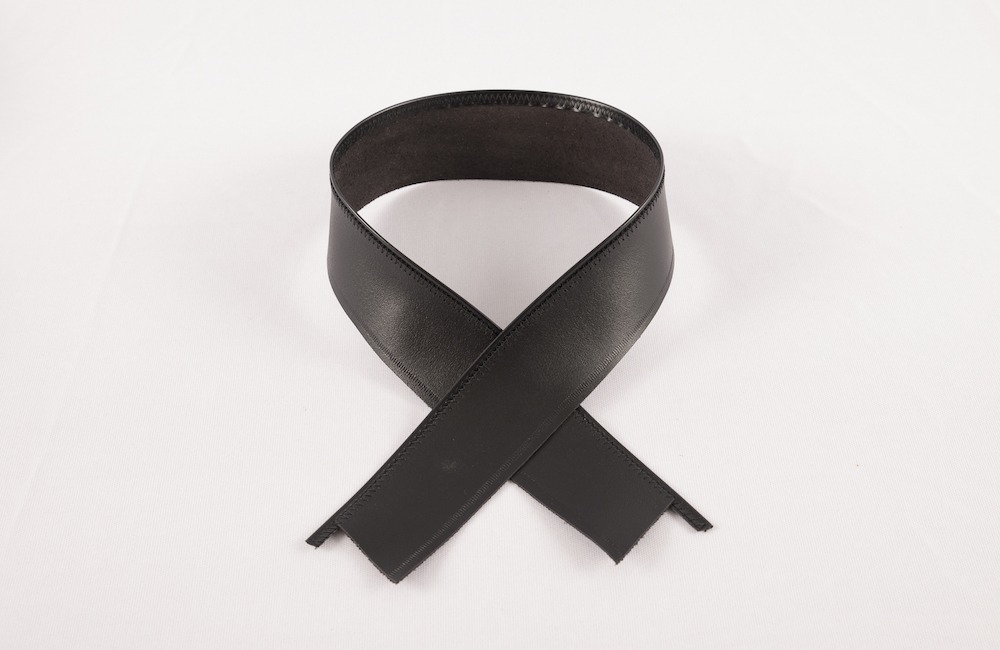
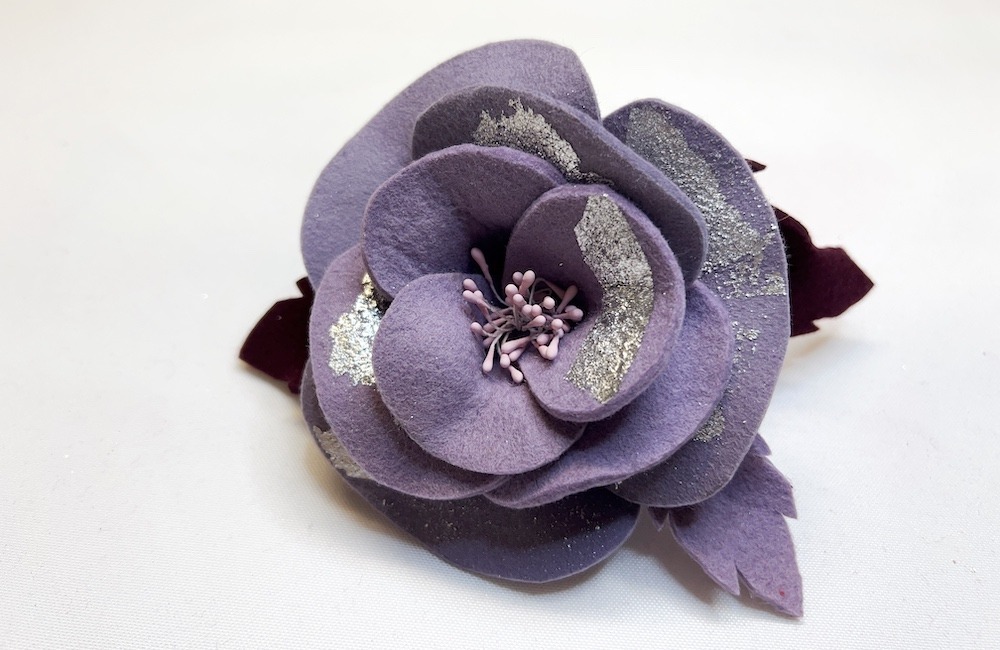
Create a metallic hatband by fusing fabric and foil with Bondaweb.

Hat Making Project
Metallic Hatband
Create a metallic hatband by fusing fabric and foil with Bondaweb.
Projects / Metallic Hatband
Project Overview
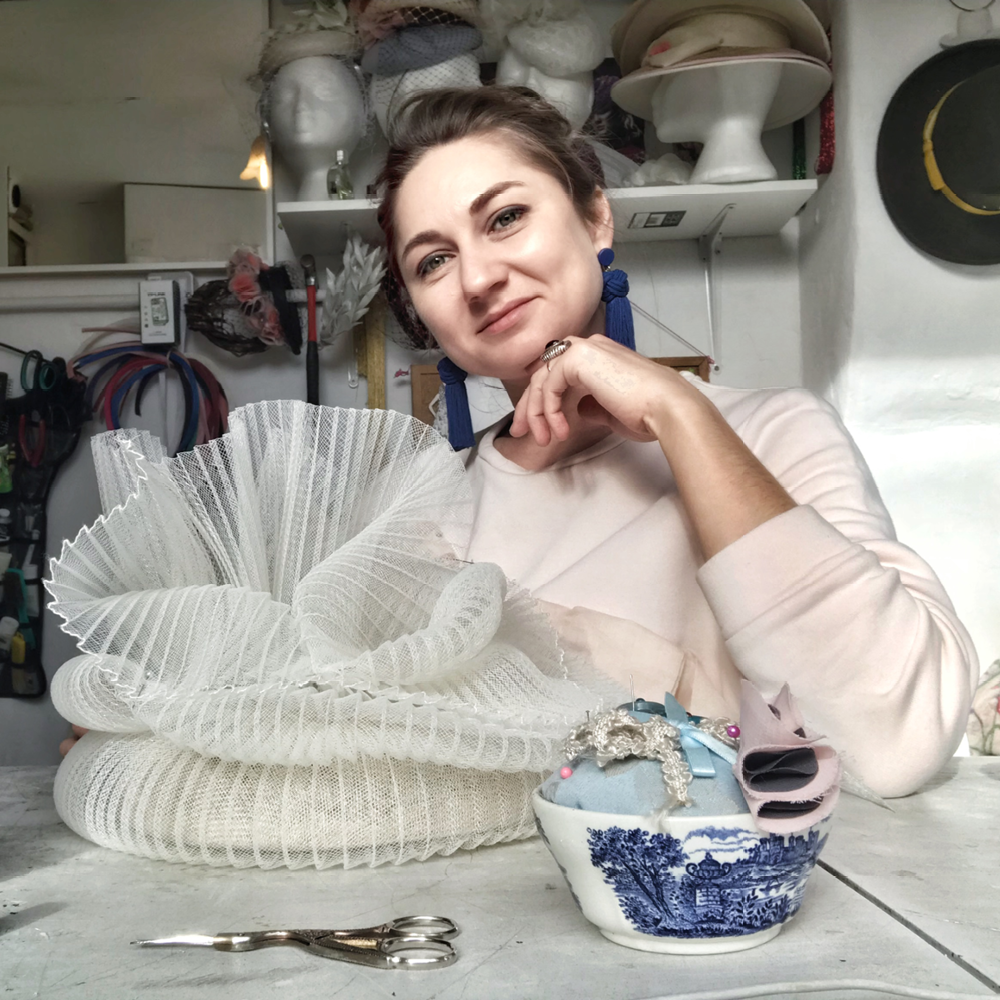
Elena Shvab is known for her specialist metallic millinery techniques. In this tutorial, the London milliner explains how to use Bondaweb, decorative foil and woven fabric to create your own custom metallic hatband.
While a simple Petersham hatband will never go out of style, it’s always fun to experiment with new materials. As well as being stylish, a hatband is a practical way to cover the join between a brim and a crown that have been blocked separately. A ribbon or fabric hatband will also provide a surface to sew other trimmings onto, like a side bow or some veiling, without damaging the hat. Plus, changing one hatband for another of a different colour or texture is a quick and easy way to give an old hat a brand new look.
For this project, Elena used rough textured linen as her base material but any thick, plain woven fabric should work well. You will also need Bondaweb (an iron-on adhesive) and some decorative metallic foil sheets. Both of these materials can be purchased online, from suppliers on eBay and Amazon, and from most craft and fabric stores.
Elena also teaches live and online metallic millinery workshops from her London studio. Visit www.elenashvab.com for more details.
Category: Hints and Tips, Trimmings
Get Full Access
HATalk Subscribers – sign in below to view the instructions for this project.
Not a Subscriber yet? Sign up to begin your free trial and get instant access to all of our projects and e-magazines.
What You Need
- Any thick, plain woven fabric
- Decorative foil sheets
- Bondaweb
- Scissors
- Pencil
- Ruler/measuring tape
- Iron
- Ironing board or ironing cloth
- Small, soft paint brush
- Baking paper
- Wet wipes (baby wipes)
- Glue (I recommend UHU because it’s strong, dries quickly and is clear)
- Needle
- Matching thread
- Invisible thread (fishing wire)
- Small binder clips
Project Overview
Elena Shvab is known for her specialist metallic millinery techniques. In this tutorial, the London milliner explains how to use Bondaweb, decorative foil and woven fabric to create your own custom metallic hatband.
While a simple Petersham hatband will never go out of style, it’s always fun to experiment with new materials. As well as being stylish, a hatband is a practical way to cover the join between a brim and a crown that have been blocked separately. A ribbon or fabric hatband will also provide a surface to sew other trimmings onto, like a side bow or some veiling, without damaging the hat. Plus, changing one hatband for another of a different colour or texture is a quick and easy way to give an old hat a brand new look.
For this project, Elena used rough textured linen as her base material but any thick, plain woven fabric should work well. You will also need Bondaweb (an iron-on adhesive) and some decorative metallic foil sheets. Both of these materials can be purchased online, from suppliers on eBay and Amazon, and from most craft and fabric stores.
Elena also teaches live and online metallic millinery workshops from her London studio. Visit www.elenashvab.com for more details.
Category: Hints and Tips, Trimmings
What You Need
- Any thick, plain woven fabric
- Decorative foil sheets
- Bondaweb
- Scissors
- Pencil
- Ruler/measuring tape
- Iron
- Ironing board or ironing cloth
- Small, soft paint brush
- Baking paper
- Wet wipes (baby wipes)
- Glue (I recommend UHU because it’s strong, dries quickly and is clear)
- Needle
- Matching thread
- Invisible thread (fishing wire)
- Small binder clips
Get Full Access
HATalk Subscribers – sign in below to view the full instructions for this project.
Not a Subscriber yet? Sign up to begin your free trial and get instant access to all of our hat making projects and e-magazines.
