Hat Making Project
Veiled Headband
Learn how to cut, sew and block a short veil and then attach it to a headband.

Hat Making Project
Veiled Headband
Learn how to cut, sew and block a short veil and then attach it to a headband.
Projects / Veiled Headband
Project Overview
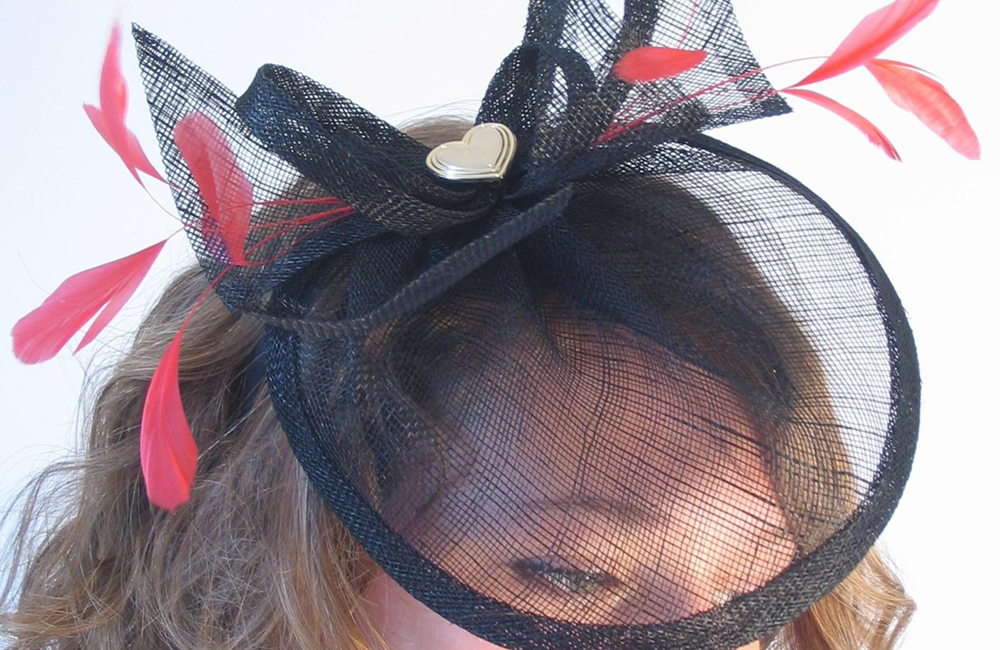
This veiled headband design would be a lovely addition to any bridal or evening wear collection. The veil stands out from the face, falling just below the eyes, for an elegant and very wearable look.
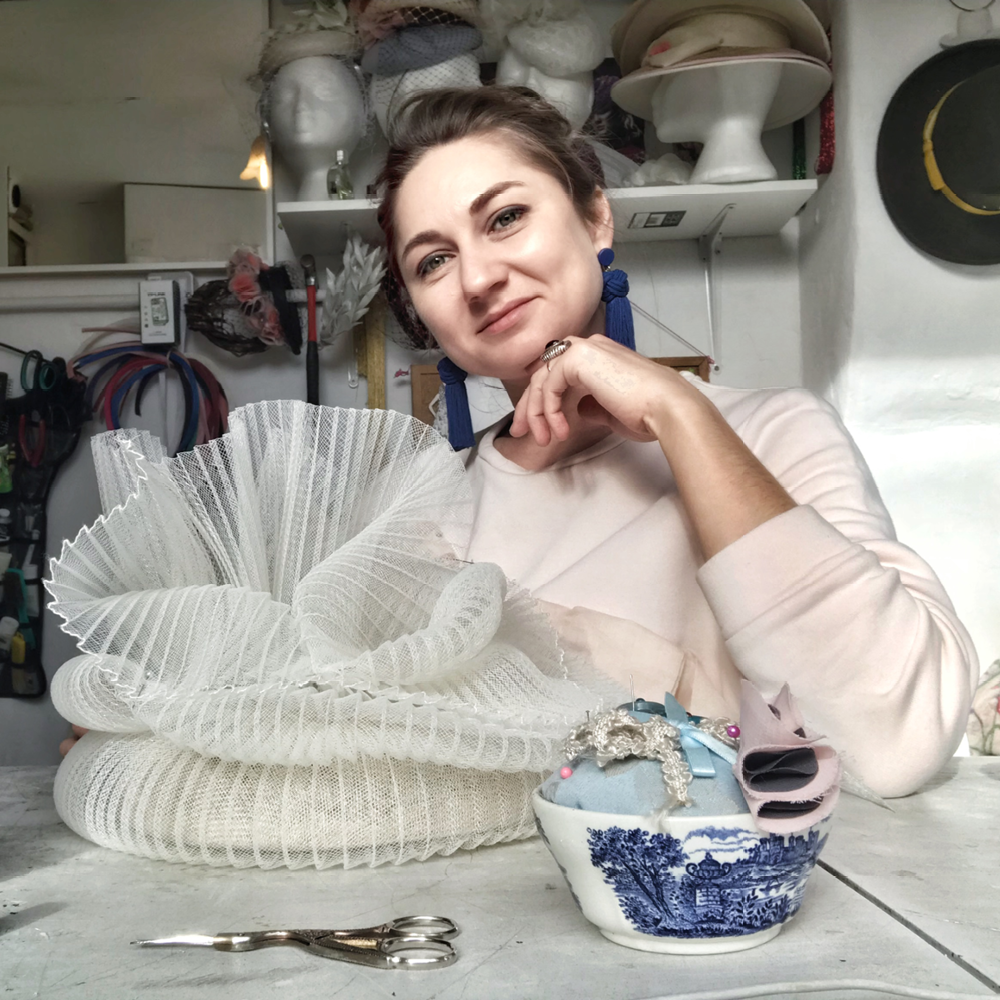
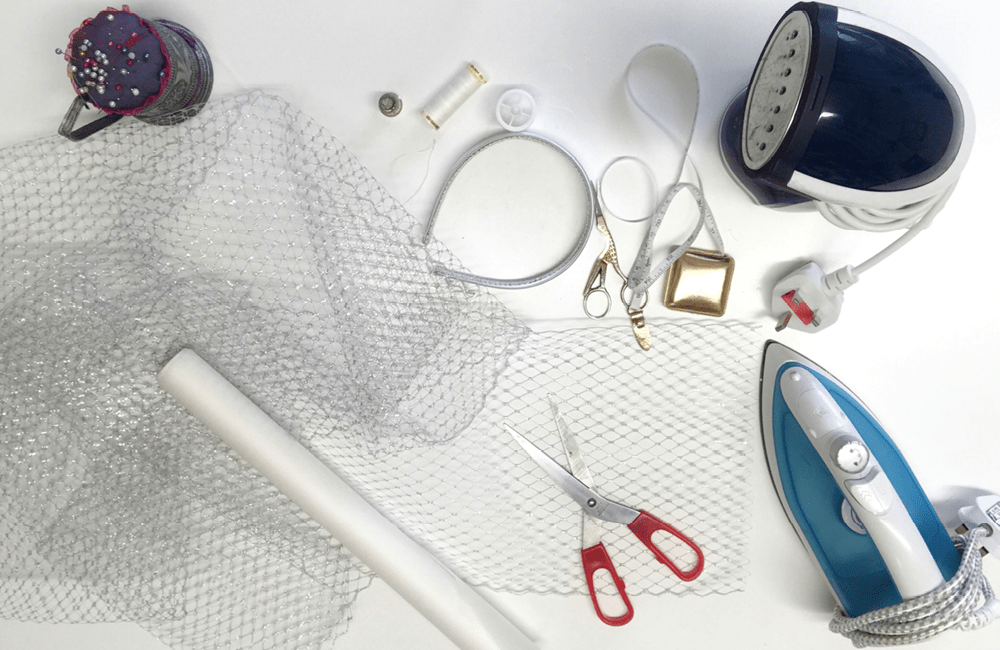
In this tutorial, written by London milliner and millinery tutor Elena Shvab, you will learn how to cut, sew and block a short veil and then attach it to a headband. Using a readymade headband makes this a quick and easy project, but the same style of veil could also be used on a fascinator, handmade halo headband or blocked cocktail hat.
Once you’ve created a basic veiled headband, you can experiment with different veil lengths and trimmings to make your own unique millinery creations. Elena’s Margot Headpiece (above) is a lovely adaptation of the original design.
Category: Bridal, Fascinators, Trimmings
Get Full Access
HATalk Subscribers – sign in below to view the instructions for this project.
Not a Subscriber yet? Sign up to begin your free trial and get instant access to all of our projects and e-magazines.
Project Overview
This veiled headband design would be a lovely addition to any bridal or evening wear collection. The veil stands out from the face, falling just below the eyes, for an elegant and very wearable look.
In this tutorial, written by London milliner and millinery tutor Elena Shvab, you will learn how to cut, sew and block a short veil and then attach it to a headband. Using a readymade headband makes this a quick and easy project, but the same style of veil could also be used on a fascinator, handmade halo headband or blocked cocktail hat.
Once you’ve created a basic veiled headband, you can experiment with different veil lengths and trimmings to make your own unique millinery creations. Elena’s Margot Headpiece (above) is a lovely adaptation of the original design.
Category: Bridal, Fascinators, Trimmings
Get Full Access
HATalk Subscribers – sign in below to view the full instructions for this project.
Not a Subscriber yet? Sign up to begin your free trial and get instant access to all of our hat making projects and e-magazines.
